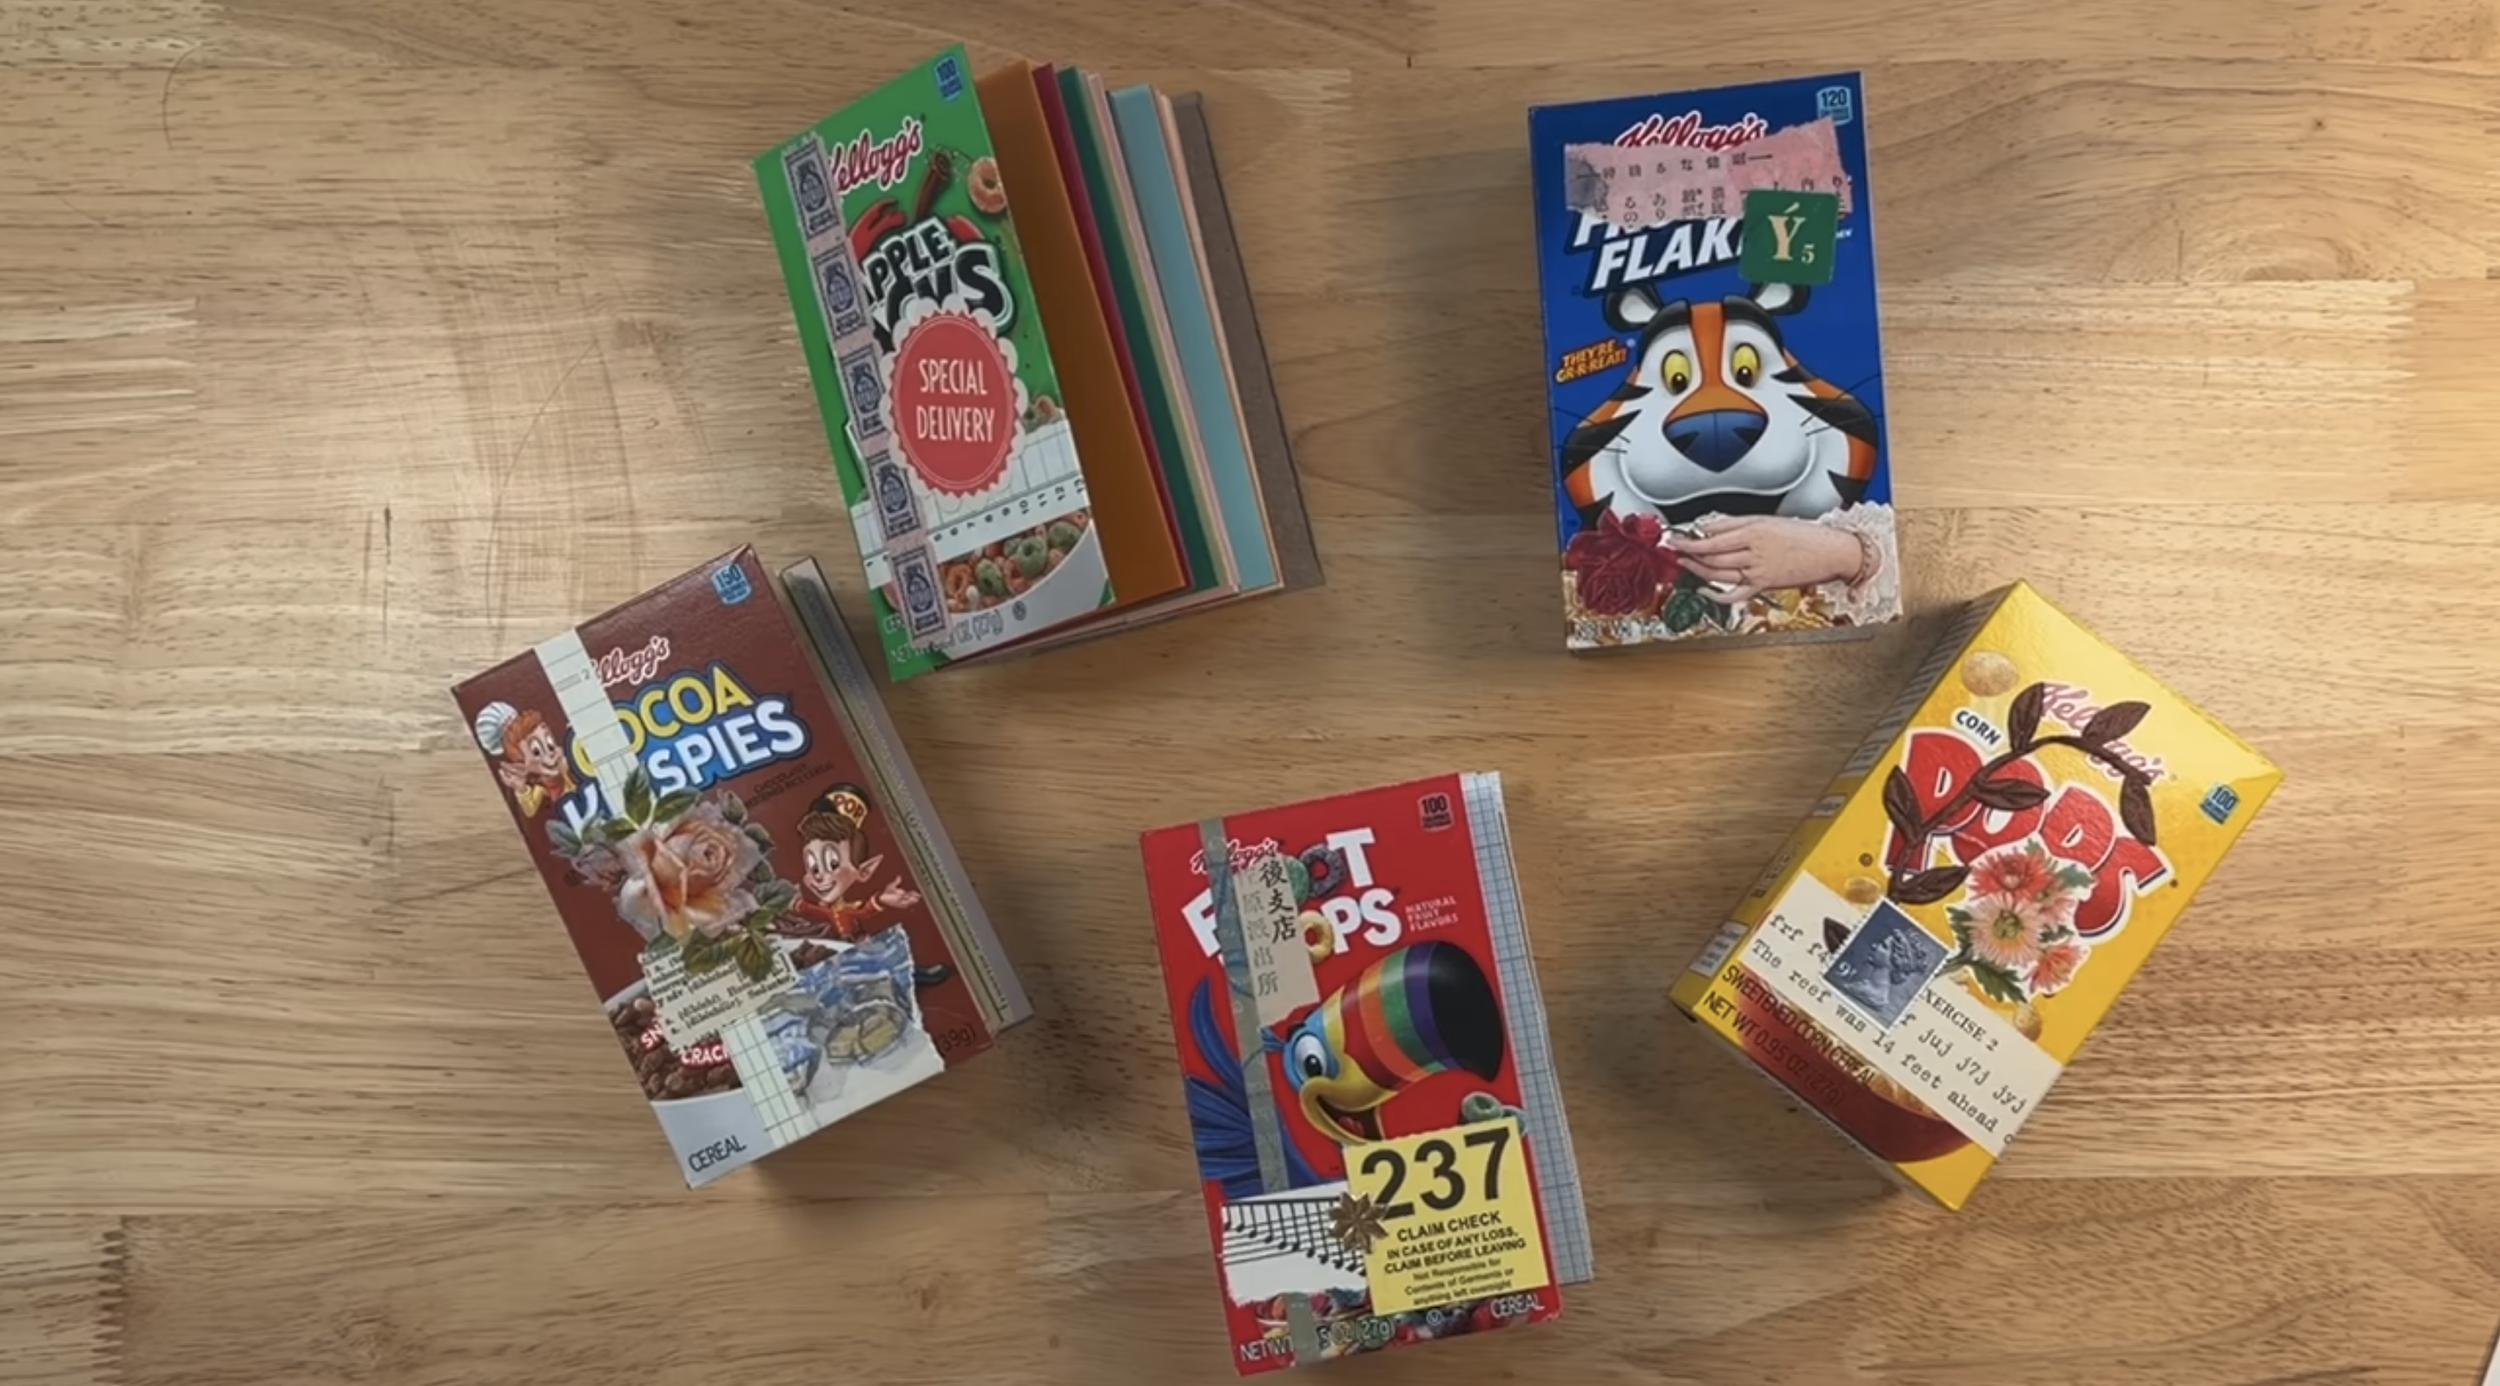
I bought a variety pack of cereal, and it turned into a little library. Stick with me and I’ll show you how. The pack came with eight small boxes and cost me under $6 at my local Walmart. I used four of them to make four very different books.
I explain how to make one of these books at the end, here is the full video so you can follow along
1. A home for your ATCs
A lot of you have asked what to do with your ATCs and how to store them. Wouldn't you know it, hey fit in a cereal box perfectly.
I used the Apple Jacks box. I folded about five pieces of construction paper in half to make a signature, and I made two of them. That gives you 10 pockets for ATCs. It can even be a junk journal if you wanted to .
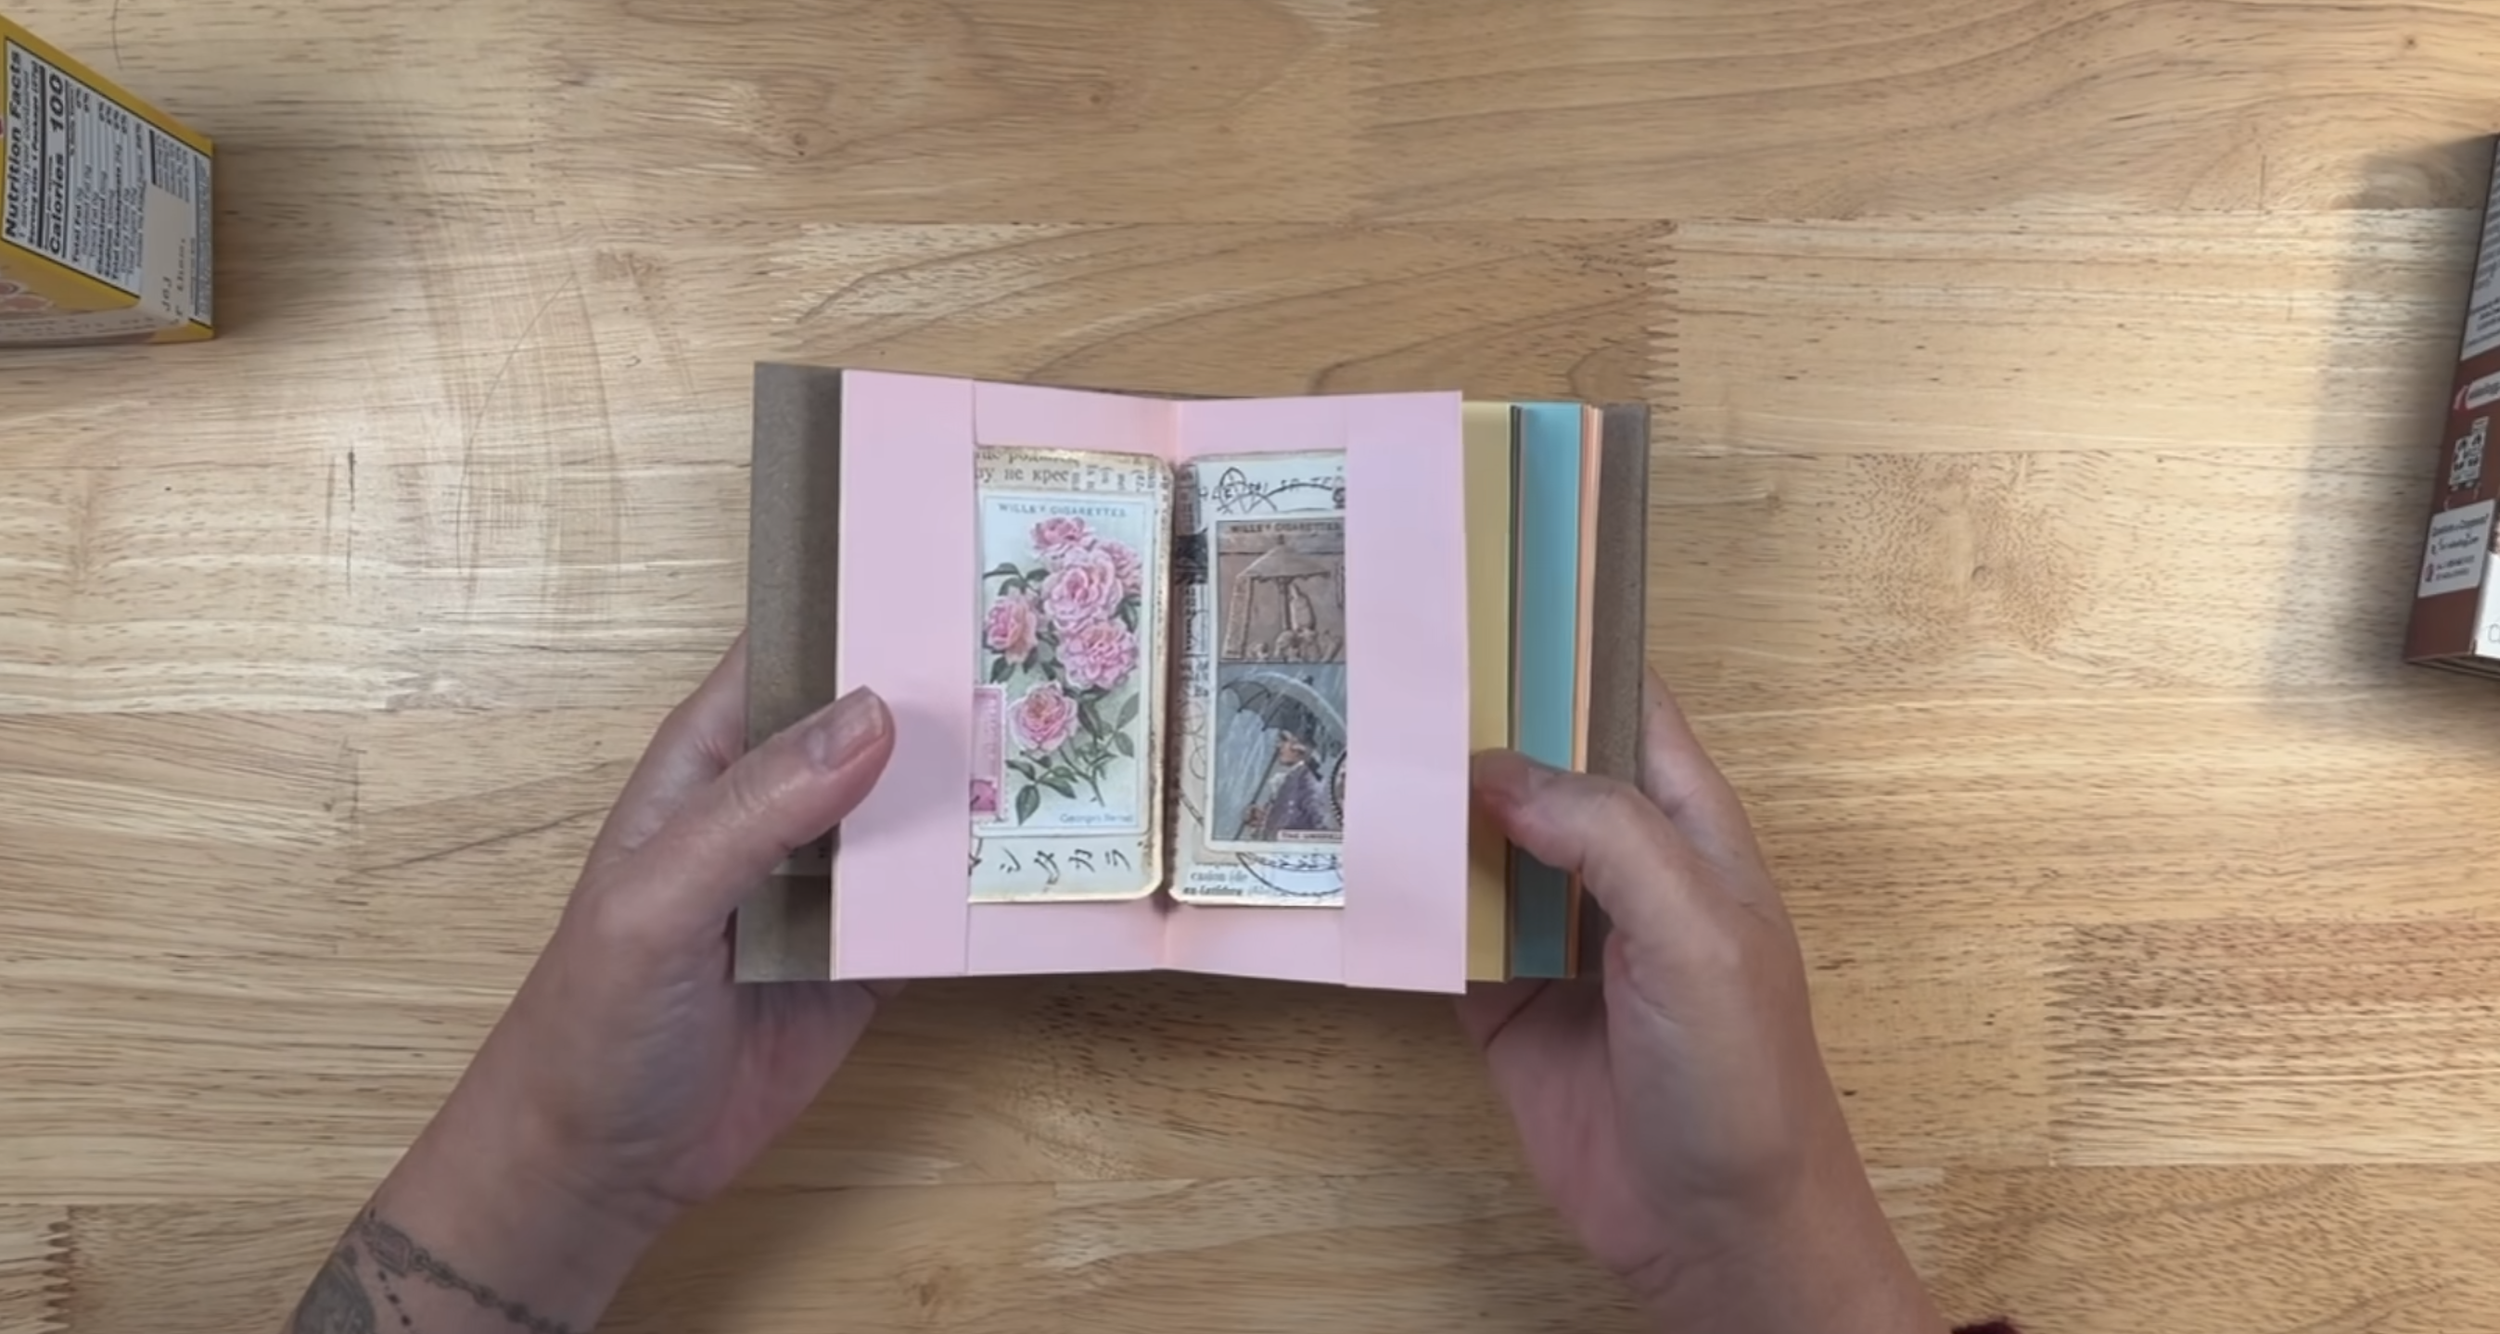
For the binding, I held everything together with a long-arm stapler I found online.
If you don’t love the packaging, you could flip the box around, cover it with wrapping paper or even collage on top. Try whatever feels right for you.
2. A low-stakes junk journal
The Cocoa Krispies box became a basic junk journal. I used papers I already had and made two signatures, then stapled them in. Inside, put in some basic collages. I used papers that folded out, soap wrapper, security envelope and some magazine pieces.
This is the kind of project where it doesn’t matter if you mess up. I’ve talked before about the pressure to make something beautiful in a new journal. With a cereal box, that pressure goes away.
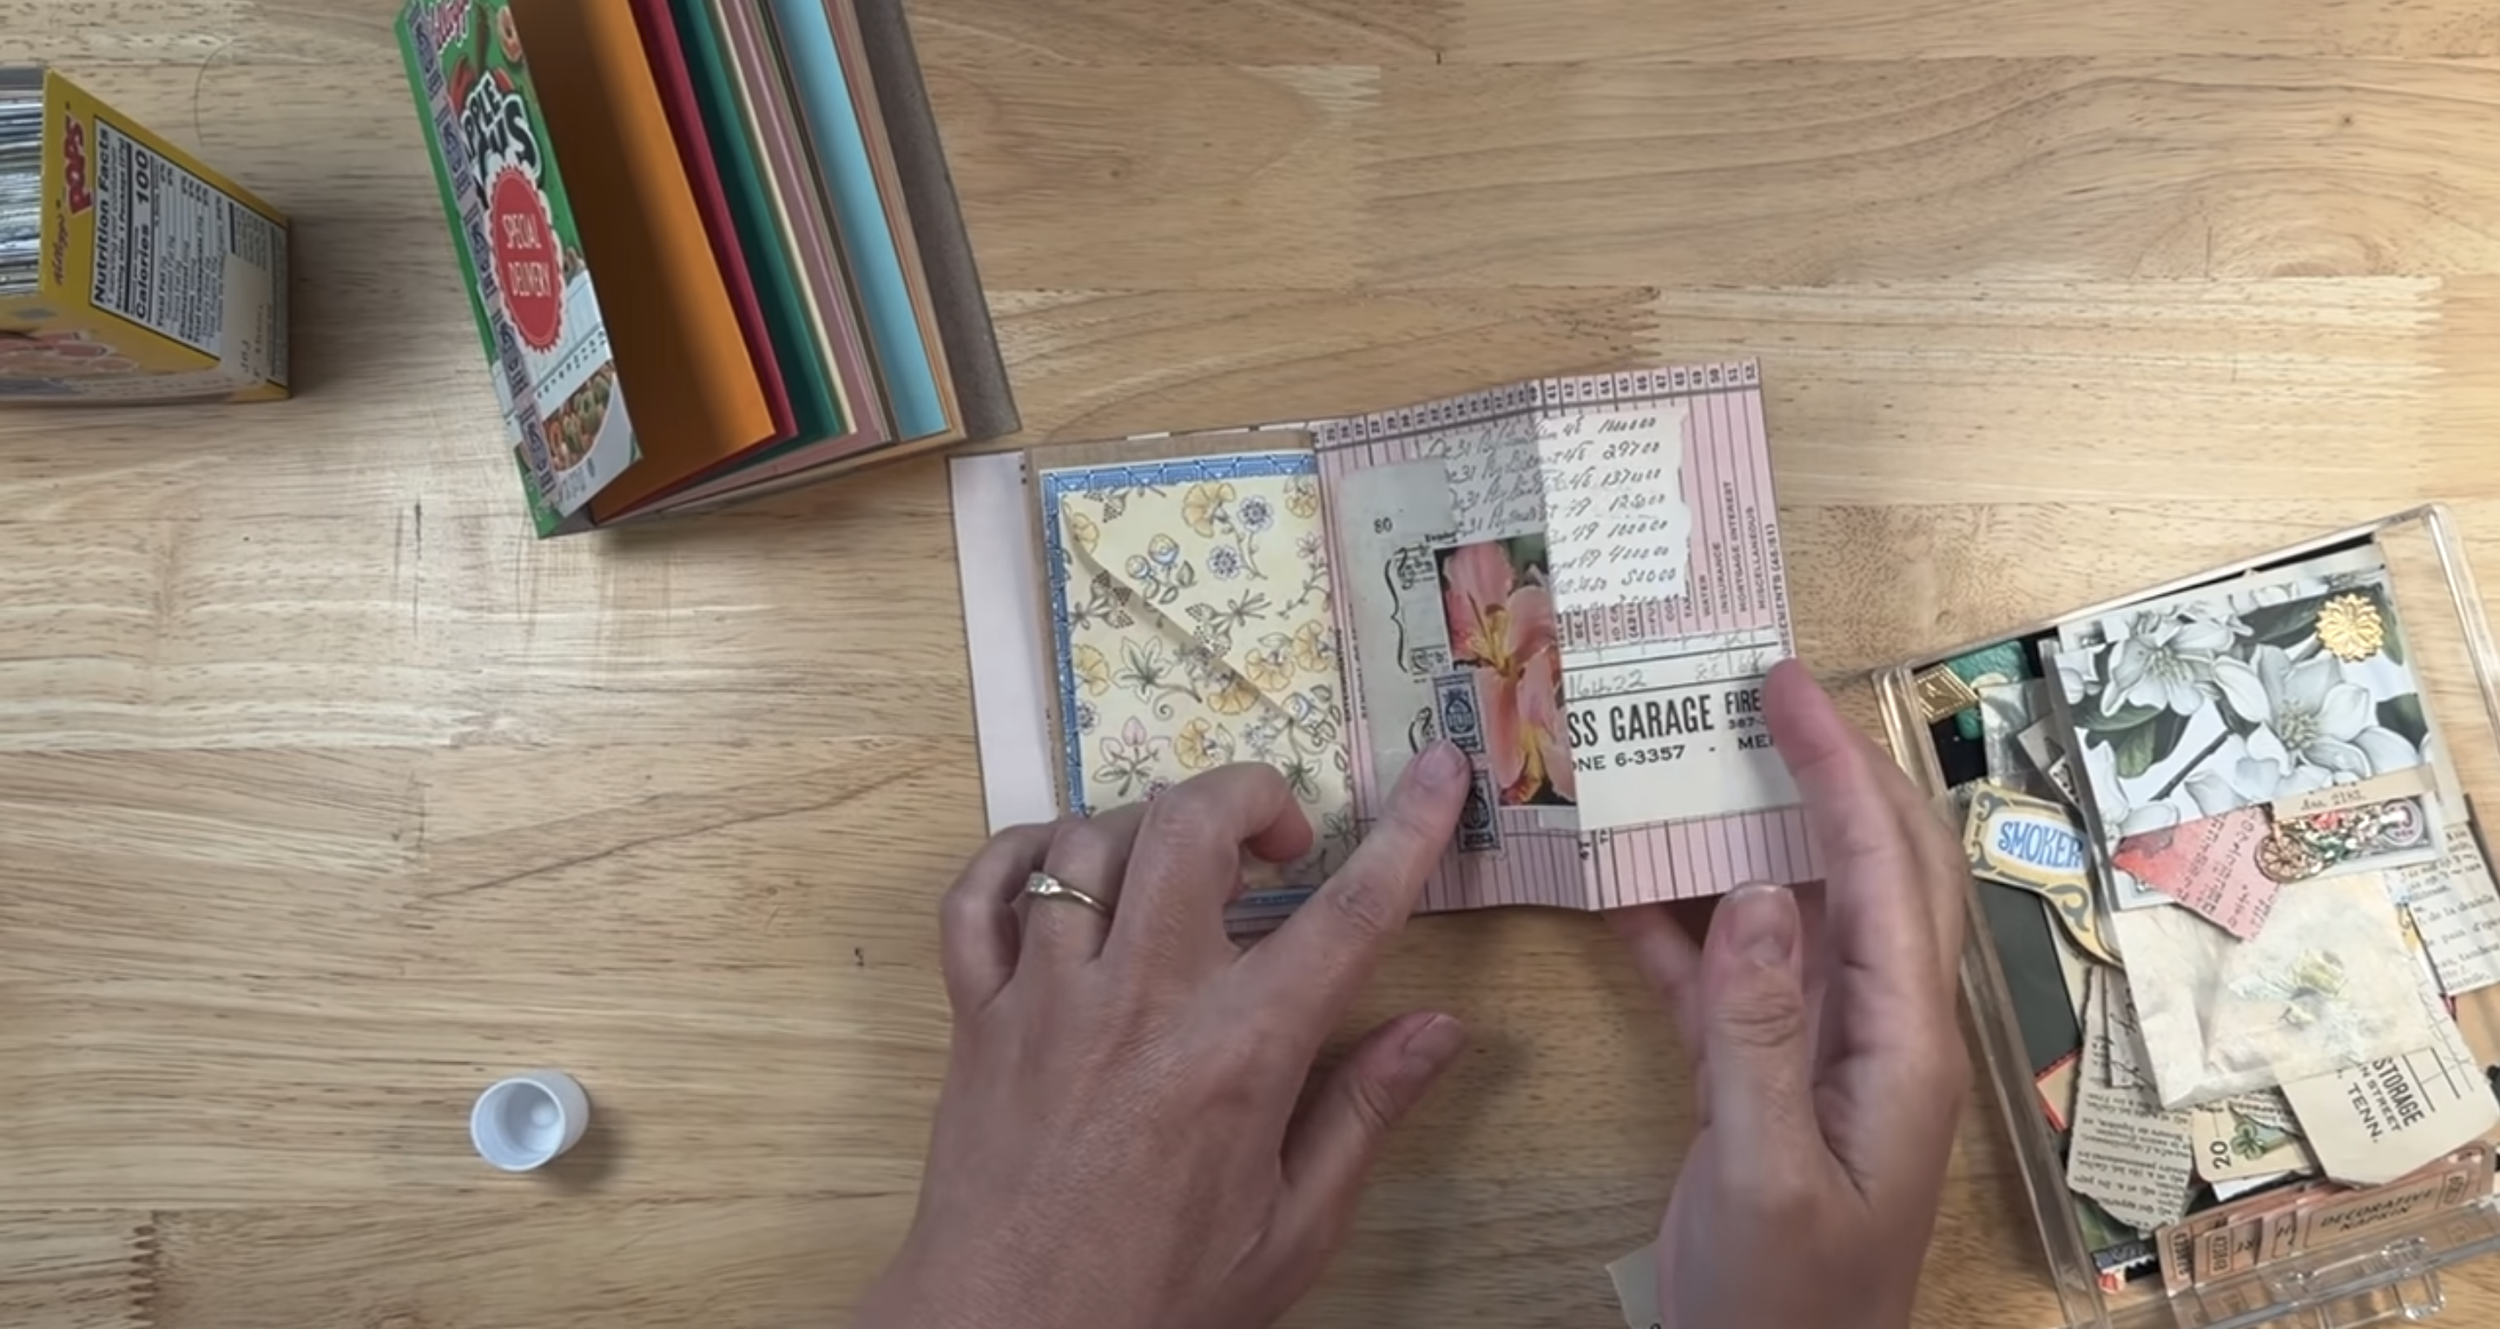
You can use what you have to create simple things. Two to three pieces is usually enough. I stamped a scrap of paper and it looked like old ledger paper.
It’s small, so you can toss it in your bag or keep it in the car for when you’re waiting on someone.
3. A zine holder
The cereal boxes are also a great size for holding zines. If you don’t know what a zine is, it’s a little eight-page booklet, like a tiny art book. You can make them, scan them, print them, and trade them with other creative people.
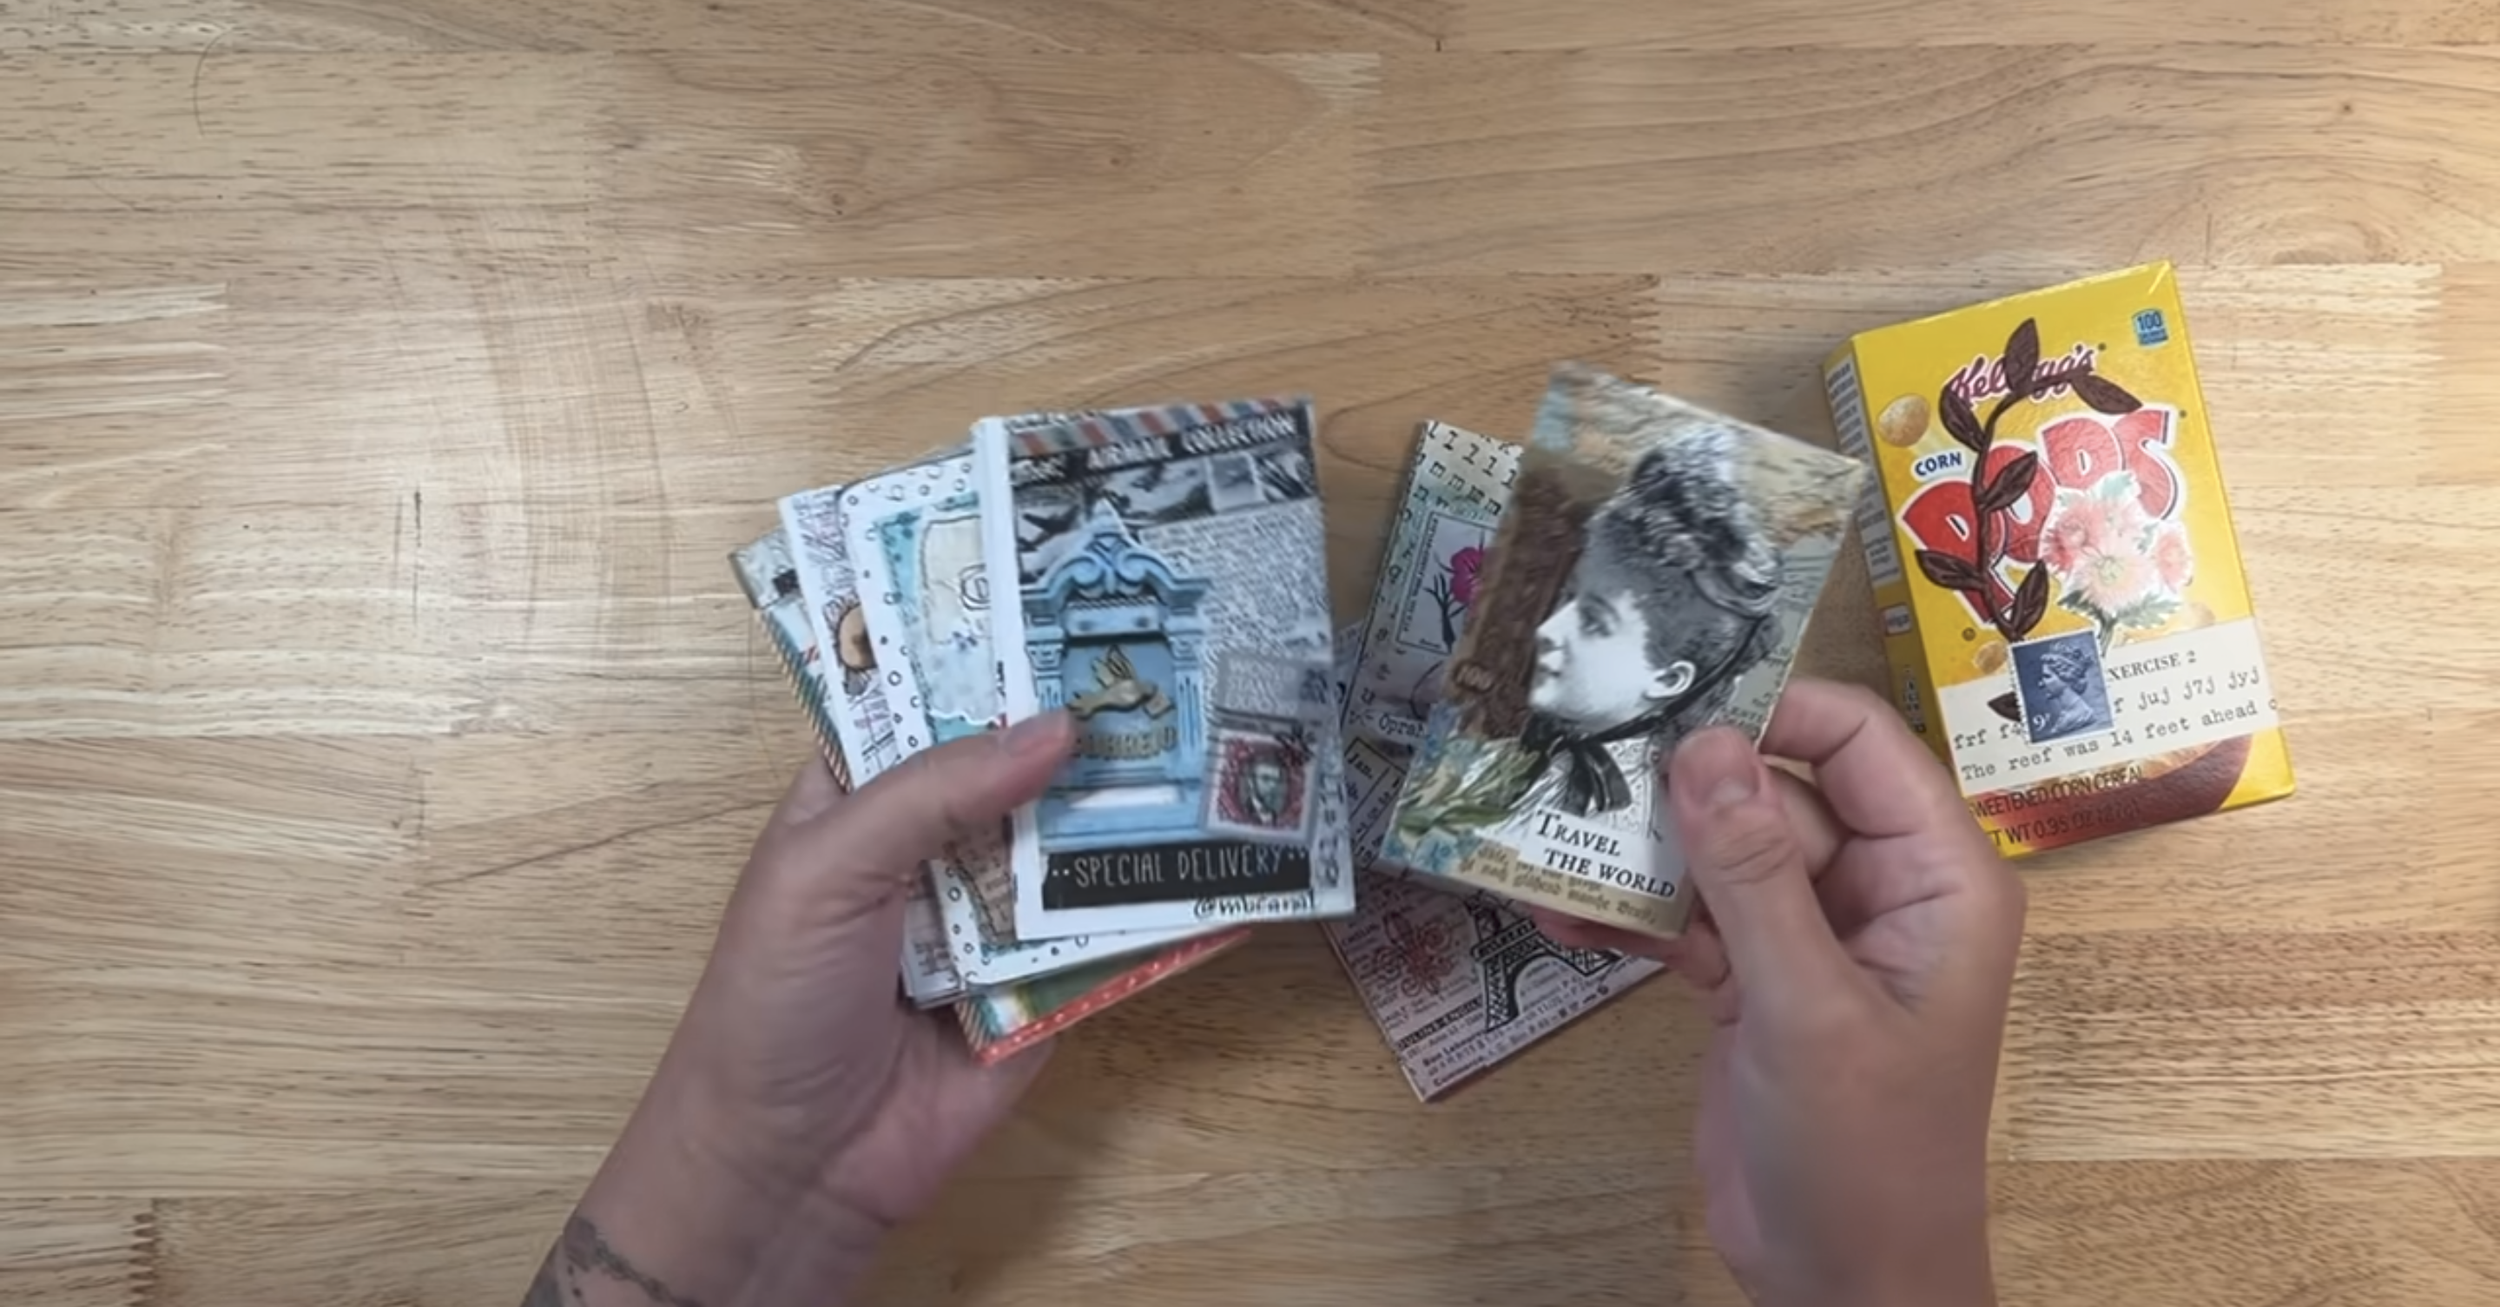
I just cut the top off the box and they slide right in. No need to cut down the sides. The size is surprisingly perfect.
4. A refillable book
For this book, I decided to use eyelets and baker’s twine. I made a couple of holes, then tied the baker's twine through them. Now I can slide loose papers in and out. It holds just fine.
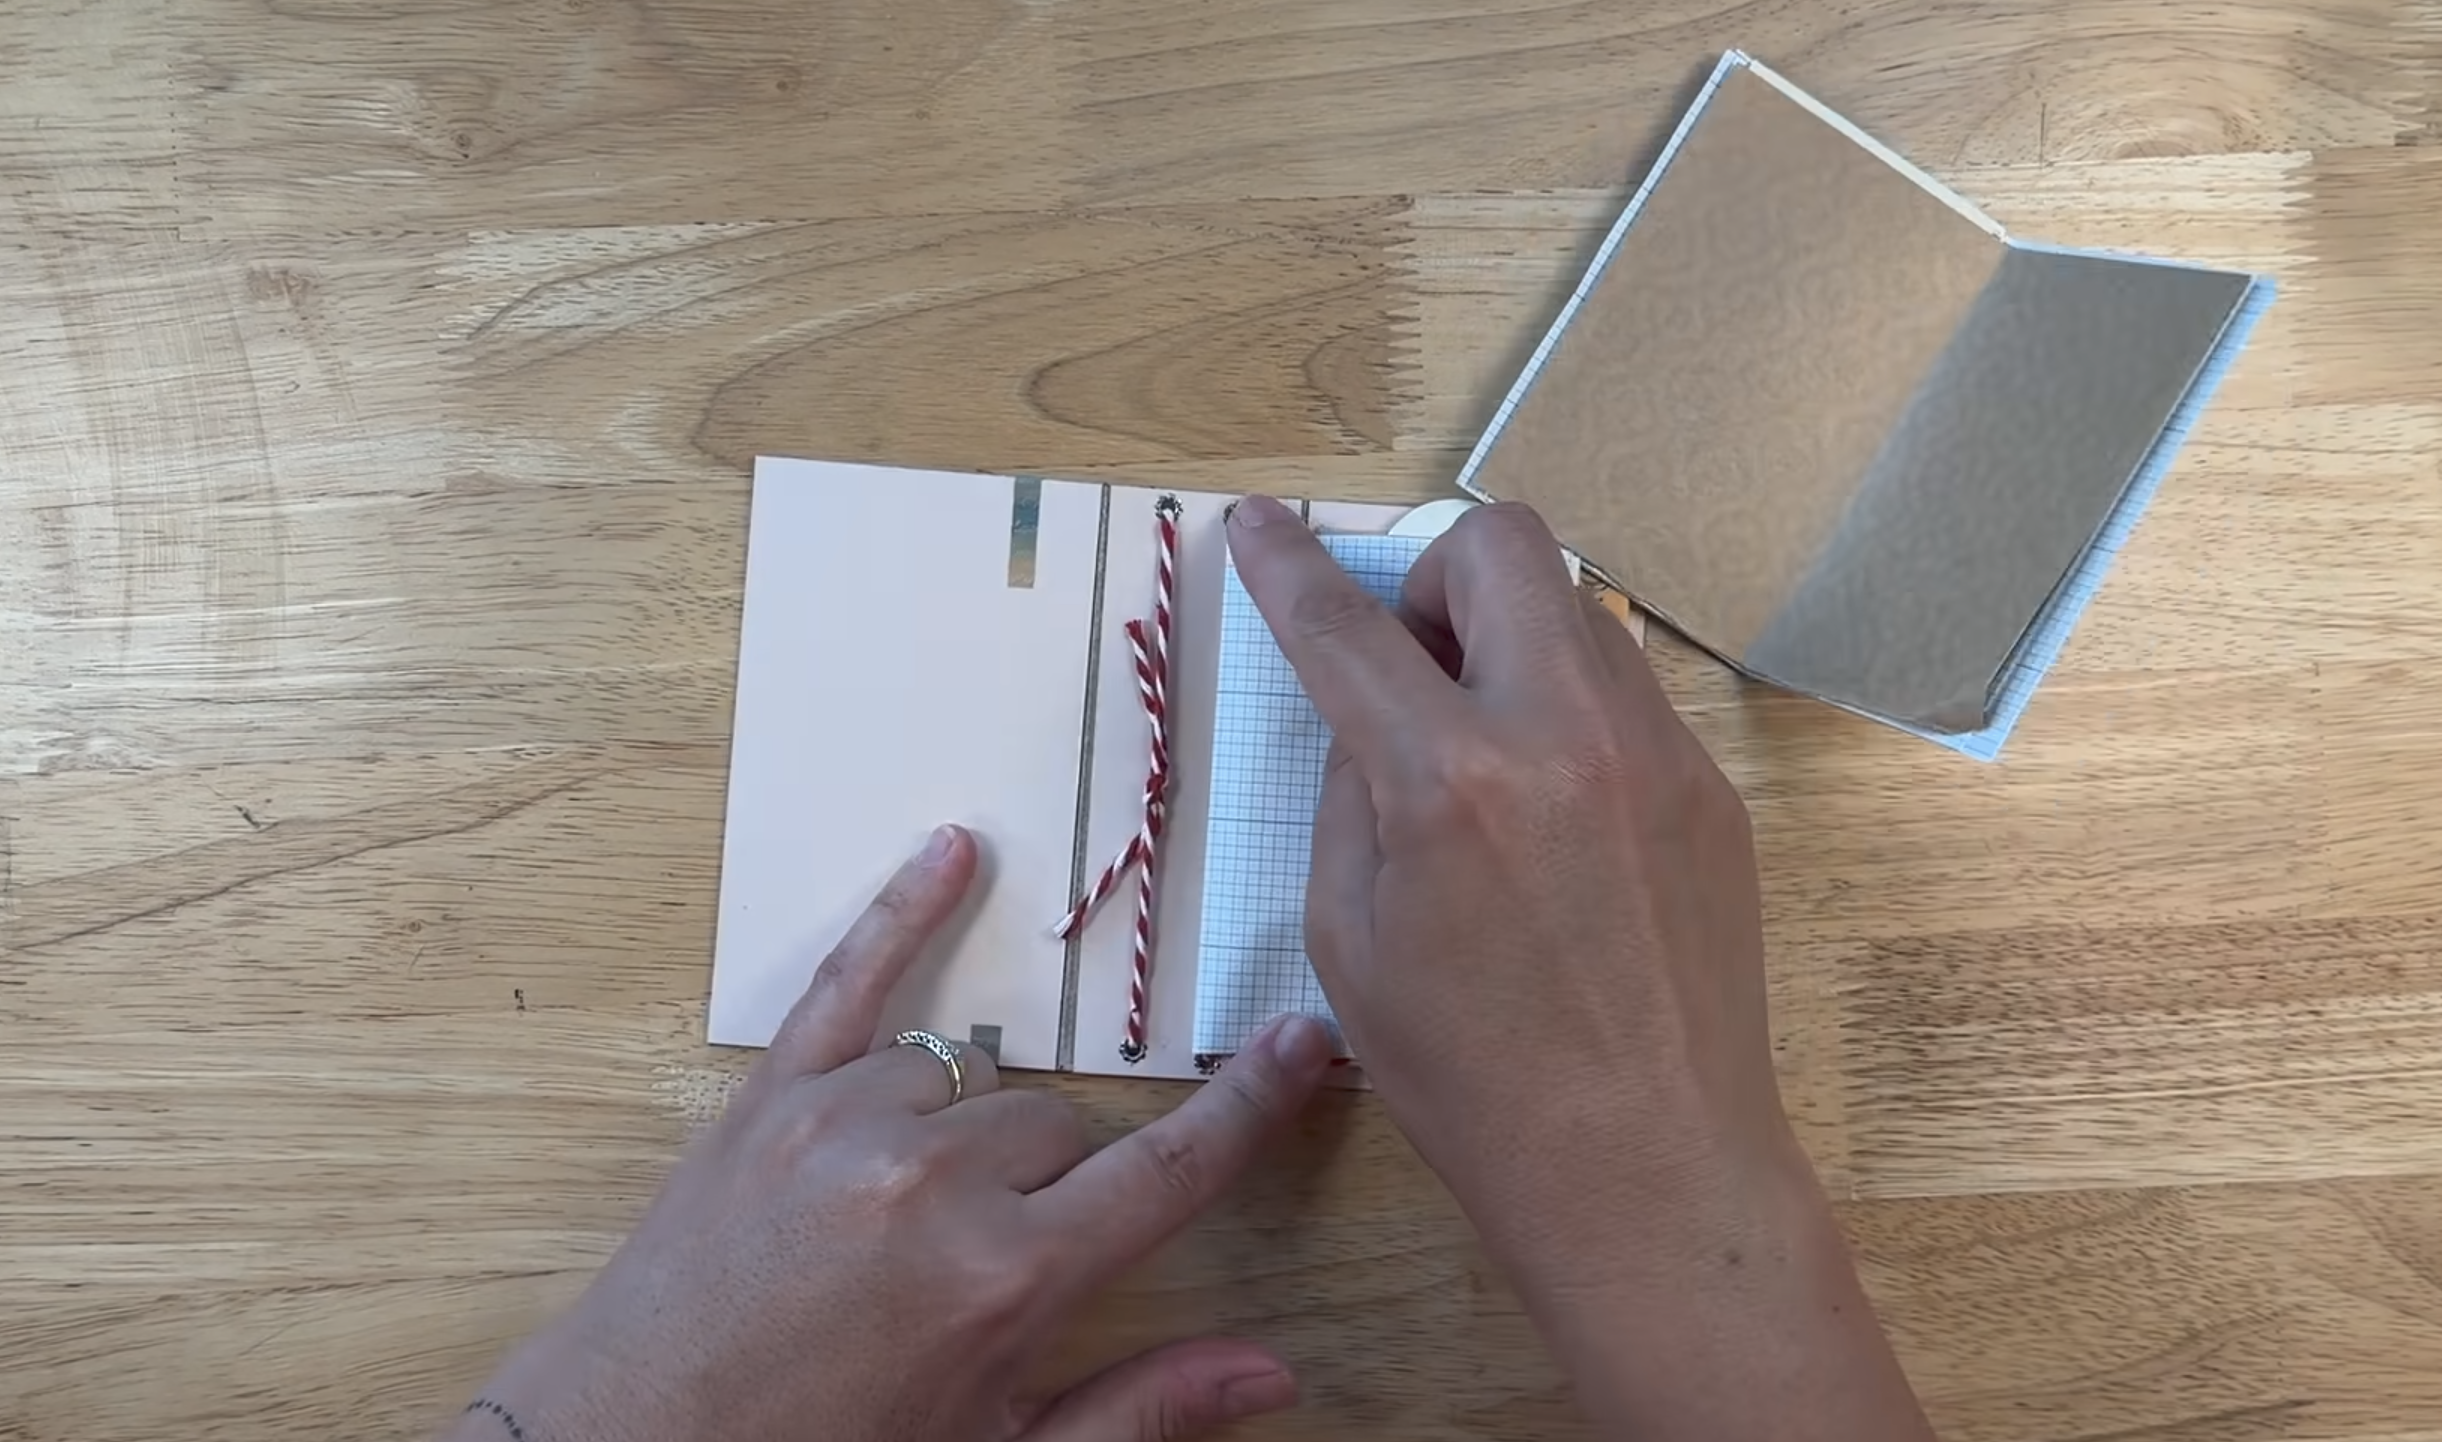
You could use elastic cord instead. I believe you can find it at a craft store, in the jewelry-making section. I had some nice baker’s twine and wanted to use it, so that’s what I did.
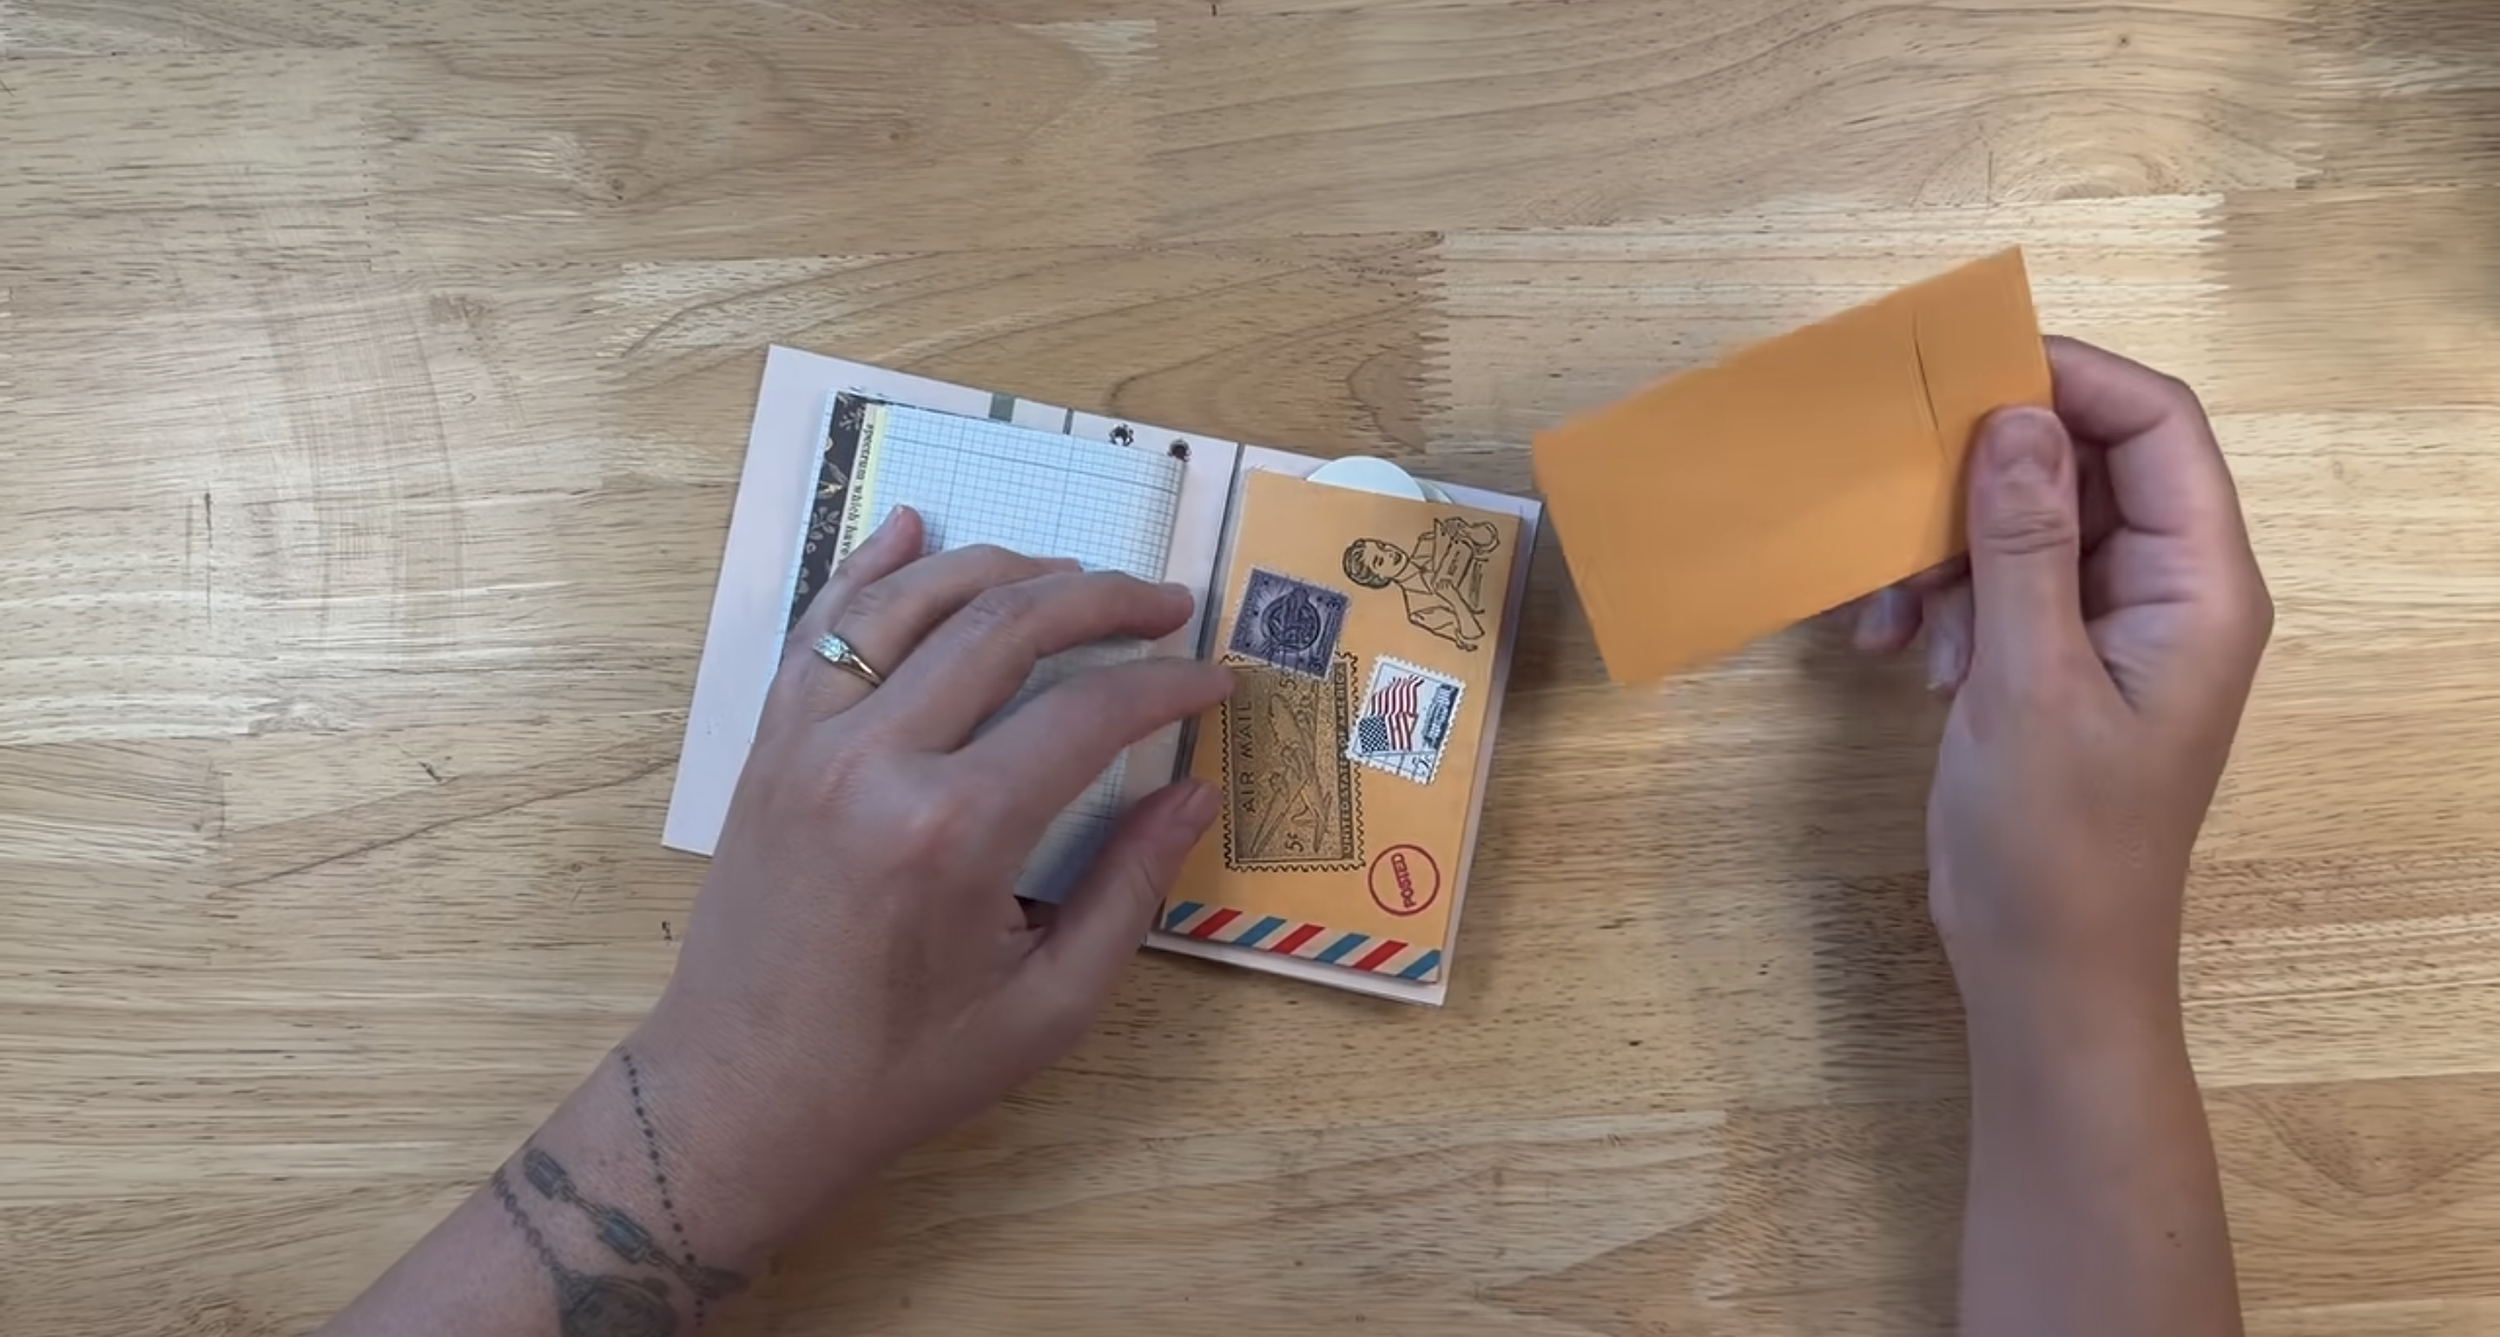
I used two signatures, but you could fit three. Coin envelopes fit in there nicely too. I taped a few together using washi tape and cut off the tops to make little pockets
5. Do it yourself
Now for the one we build together.
Open up the box, take out the cereal, and decide which side will be your spine. If you want the cover to look different, cover it with wrapping paper first, and the cereal print ends up on the inside. I kept outside. The tiger looks like he’s about to bite something, and I liked the idea of biting the hand that feeds you.
I wanted one long strip to collage on. Paper tape from an adding machine would have been perfect, but I didn’t have any. So I used a thin catalog. I measured the height, glued a bunch of pages together end to end, and folded it up. The seams don’t need to be neat, since paper will go on top.
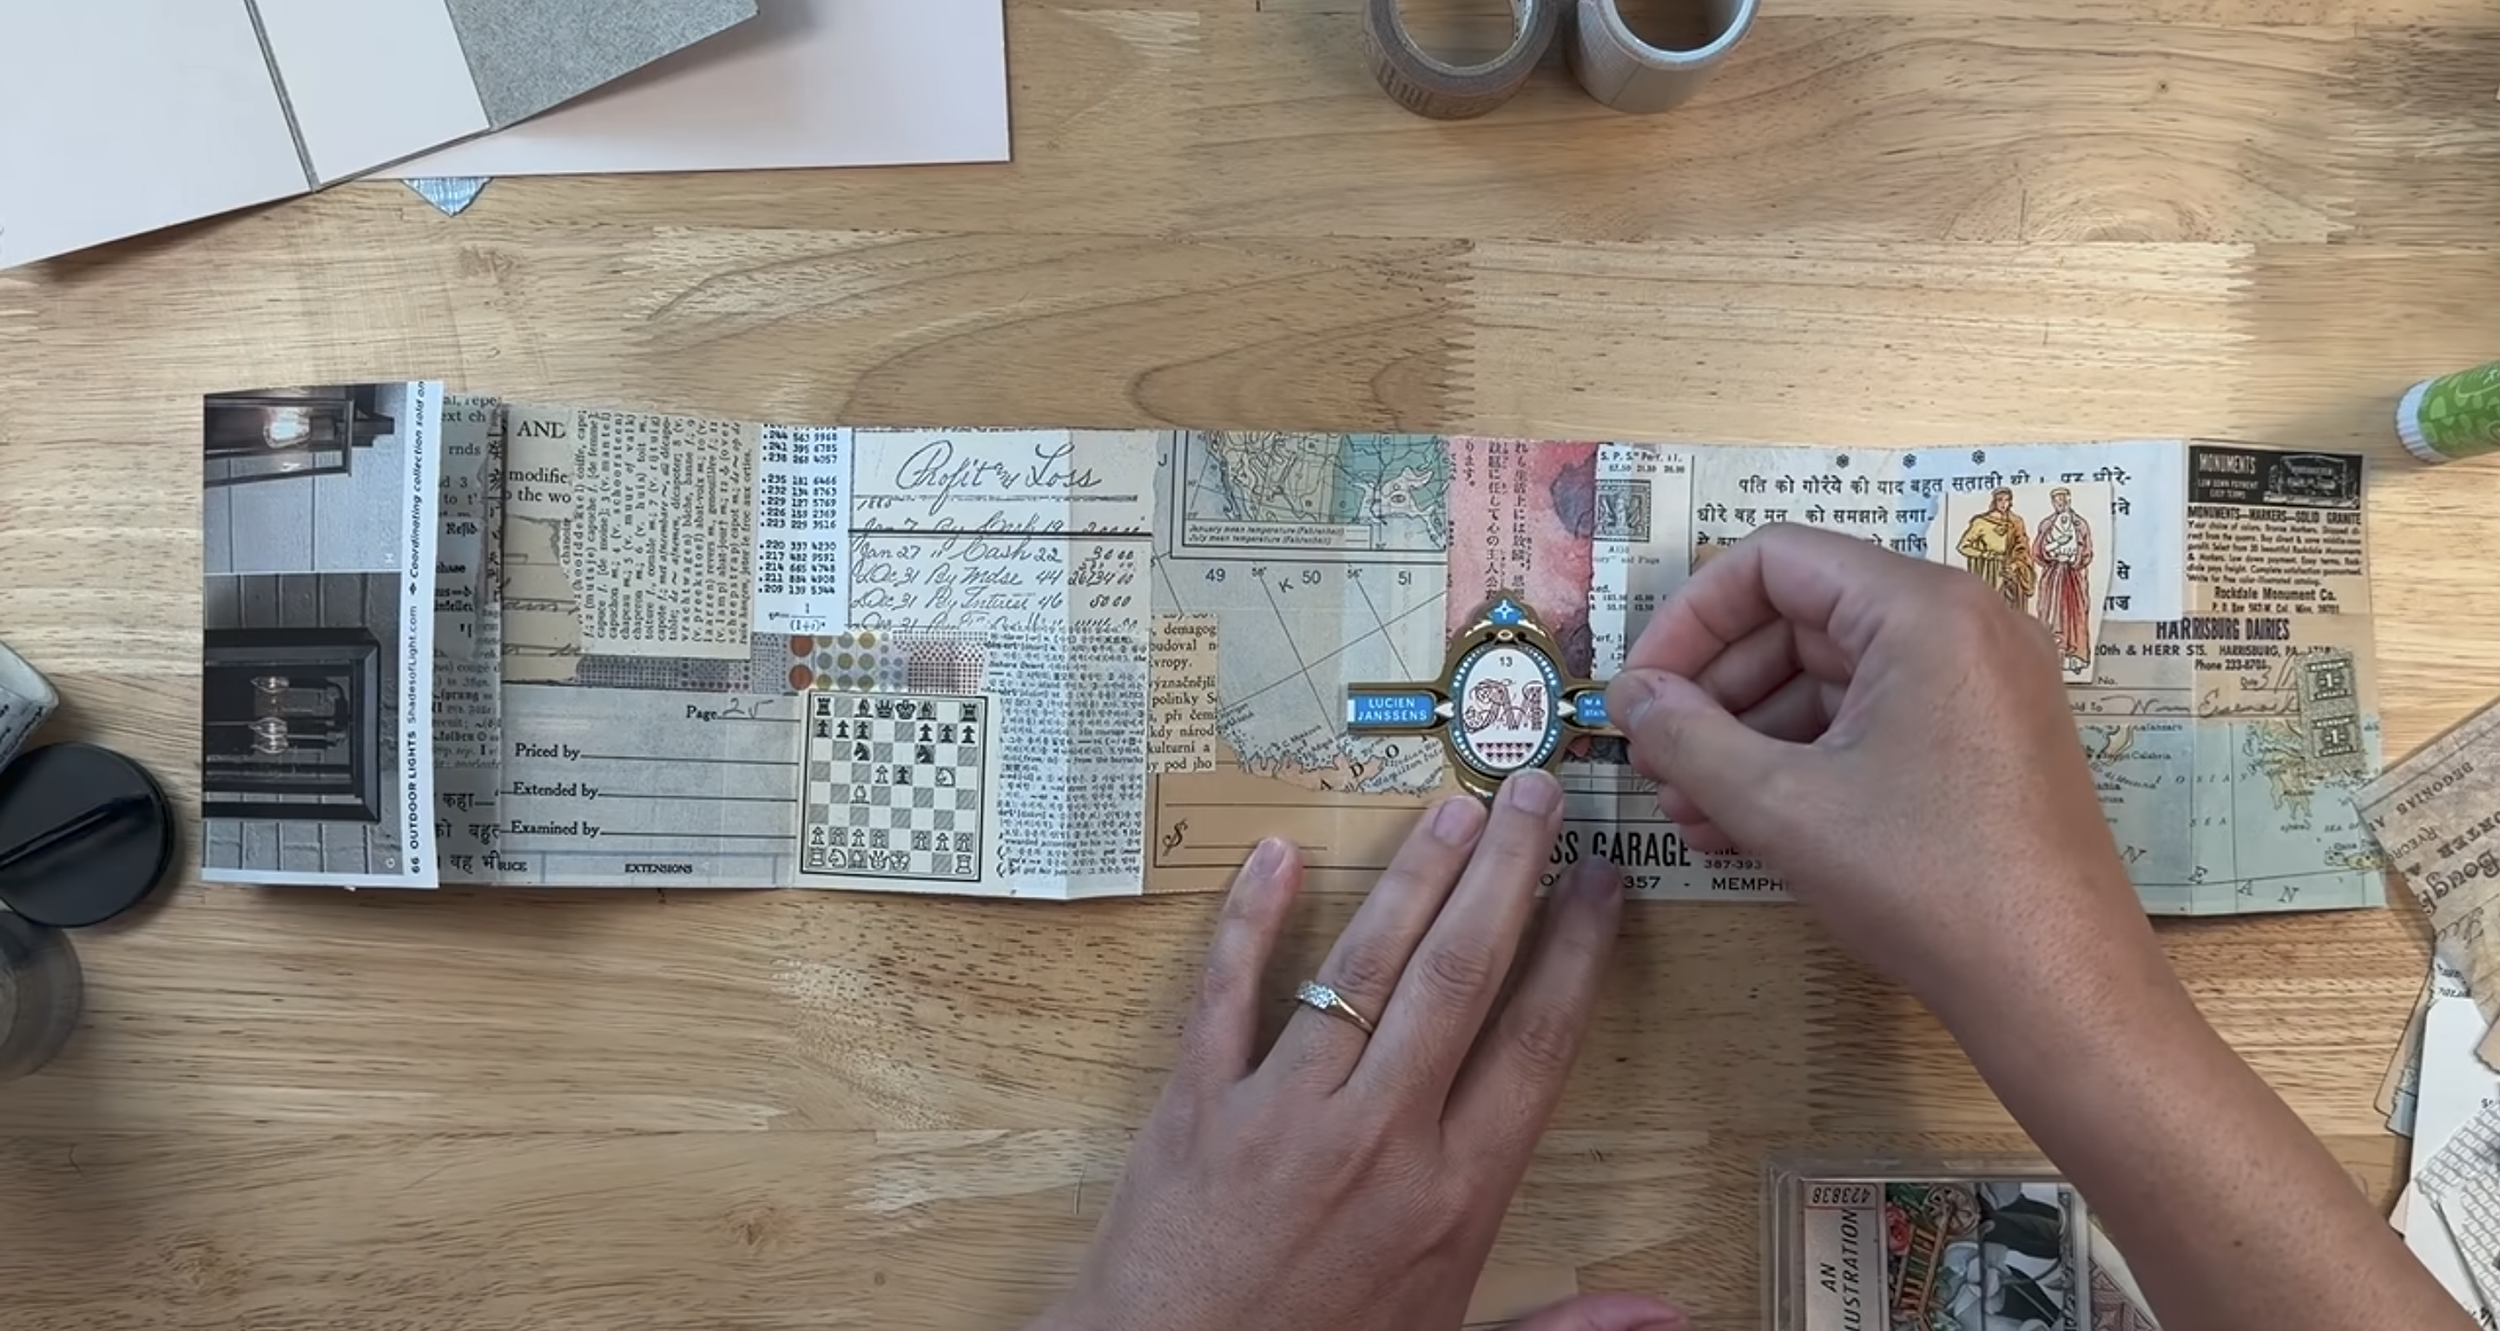
Next I pulled out my box of paper scraps and laid down backgrounds. I wasn’t making any final decisions just yet. Once the backgrounds are down, you can start playing with the smaller bits. This is the fun part for me. Place your focal points, like small photos or flowers, wherever they feel right.
I can always add another layer later. At the end, I add double-sided tape and attach it inside the cover.
Try it with a few small boxes and see what happens. I still have extras, so I’m curious what you’d make.
Turn the page and keep going.
If you’re interested in more challenges like this, sign up for the Vintage and Collage Club! And for updates on projects and more inspiration, sign up for my newsletter. I hope to see you there!