Over the years I’ve shared a lot of collage and journaling techniques. But this is the journal I come back to when I get stuck. It’s also the one I recommend when people say, “I want to make something, but I don’t know where to start.”
I call it the Eclectic Page Glue Book. No prompts. No rules. No fancy supplies. Just 20 pieces of paper and some room to explore.
Want to follow along? Watch the full video here.
What is it?
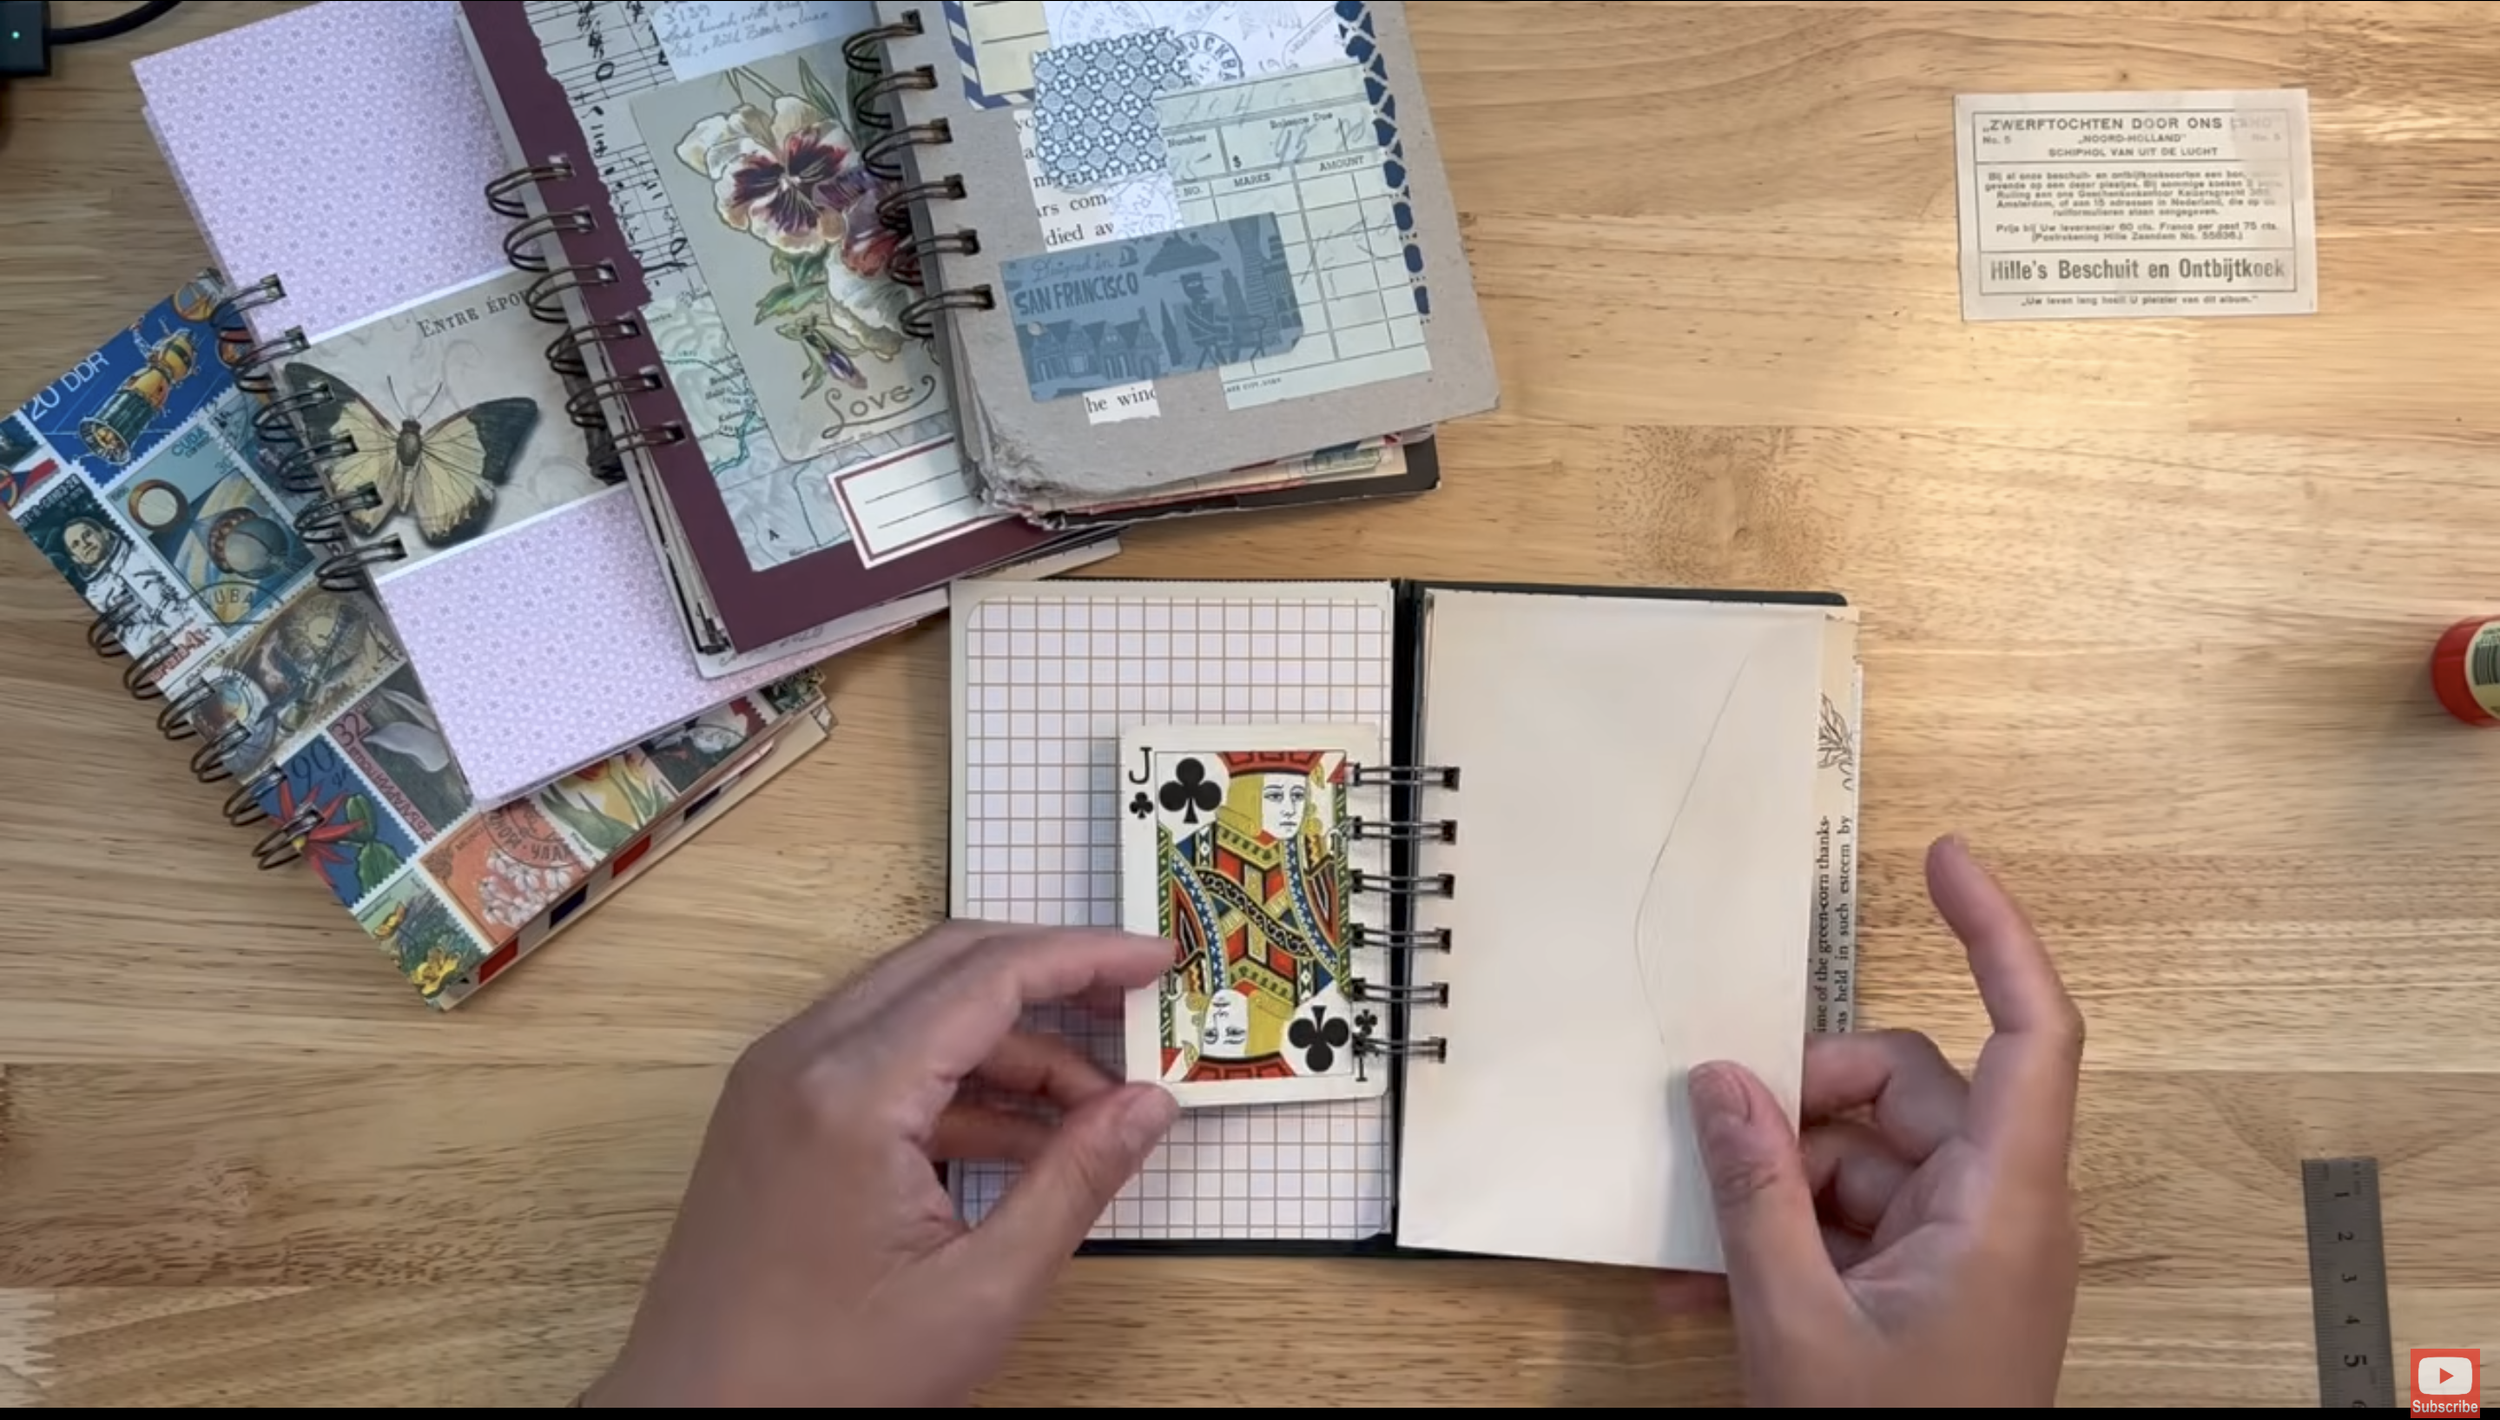
It’s a journal made from 20 different papers I already had. Postcards, graph paper, pattern paper, craft paper, an old receipt, the back of a bank note. You bind them together, but it isn’t a blank sketchbook. Every page already has some color or texture or print on it, so you never start from nothing.
Why I love it
A lot of us overthink our art. We collect supplies, watch tutorials, get inspired, and then freeze. What should I make? Will it look good? Am I doing it right? This journal breaks that cycle. The more mismatched it is, the better it works.
Here are my six reasons:
You can start now. All you need is 20 papers, roughly the size you want your journal to be. Mine are around postcard size, about 4 by 6, but they don’t have to match.
It’s low pressure. You’re not picky about the papers, so there’s nothing to get wrong. You don’t even have to work in order. Start in the middle if you like.
You use what you have. Used paper works great. Old school notes, a diner receipt, a ticket stub. If there’s writing on the page, that’s fine. You’re adding layers anyway.
You finish things. It’s a small project, so your odds of finishing a page, and even a whole journal, are good. That feeling matters. It keeps you going.
It makes you playful. Each odd page is a little puzzle. What could go here? The more you do it, the better you get.
It’s proof. Once you fill a journal, you have evidence that you’re creative. You just needed the right container.
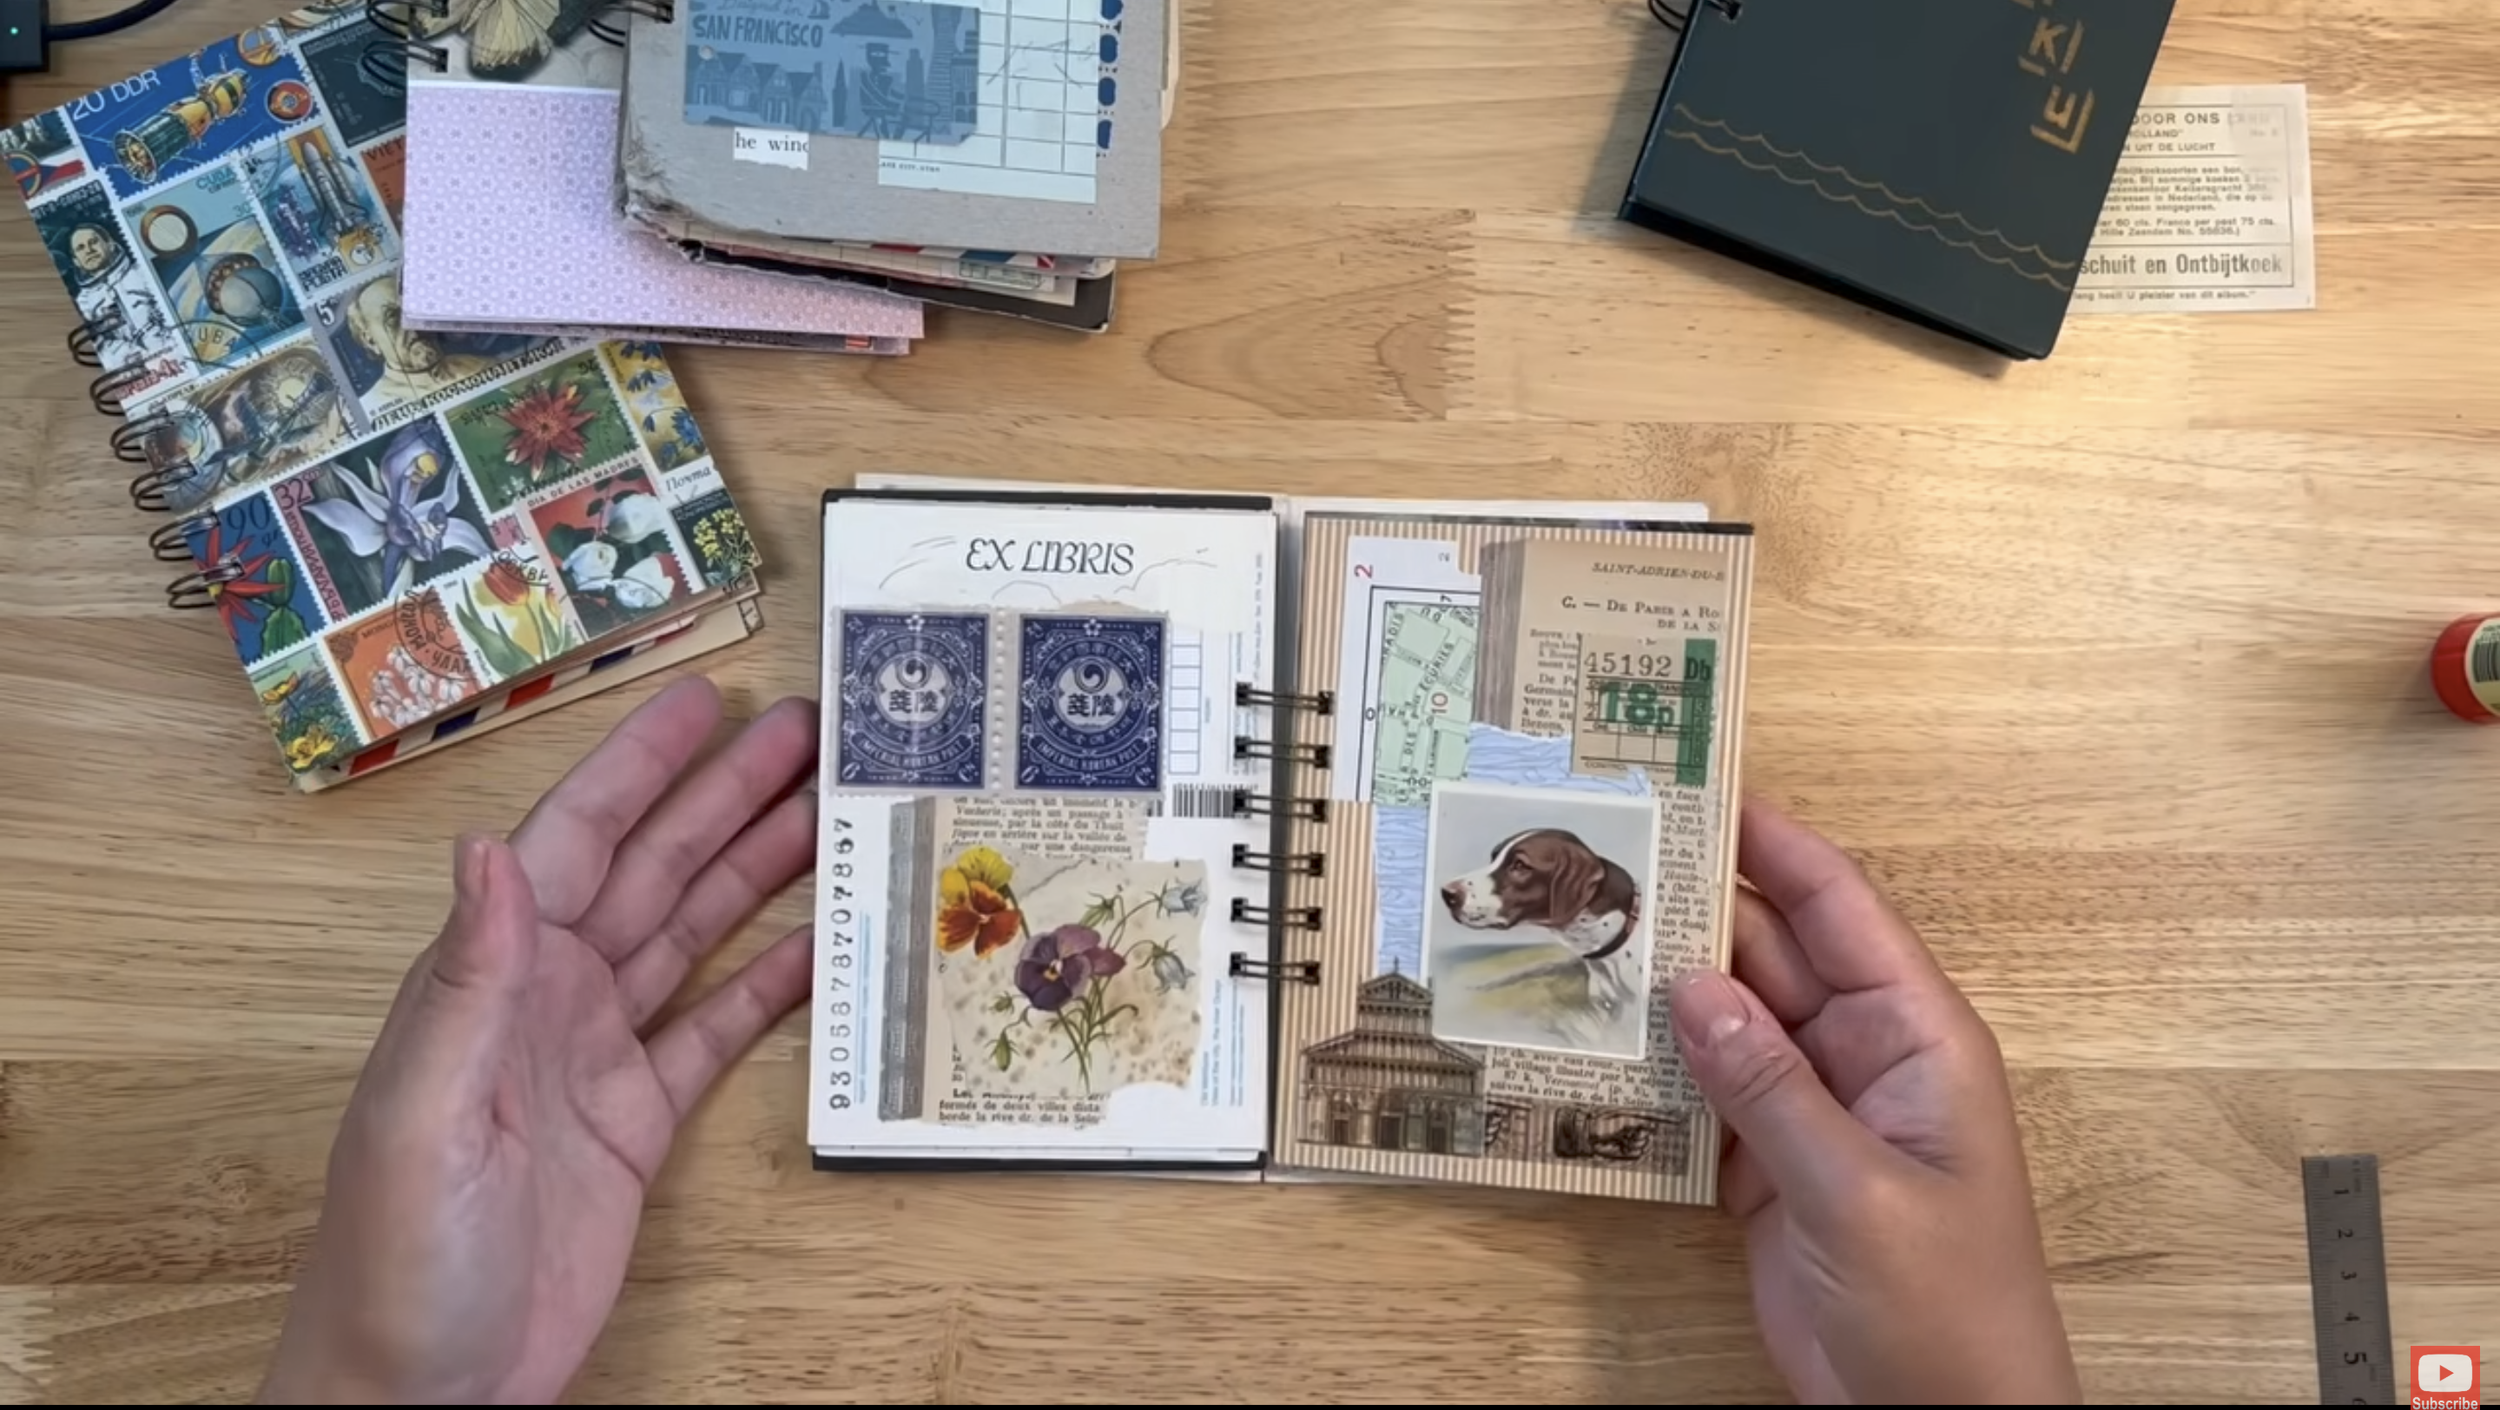
The point of this journal is freedom and that it's made from leftovers. It’s meant to be intuitive, not studied. If it speaks to you, that is enough.
Let’s make one
Start with covers. I’ve used heavy card stock, and the leftover middle of a picture mat. For this example, I used envelopes, with cardboard slipped inside to make them sturdy. Used envelopes are great. If there’s an address on the front, cover it up later.
Pick your papers. Mine were about 4½ by 6¼. If a paper is the wrong shape, turn it, fold it in half, or trim it. A thin receipt needs backing, so glue it to something thicker. I try to land on 20, so I have a set number to work toward.
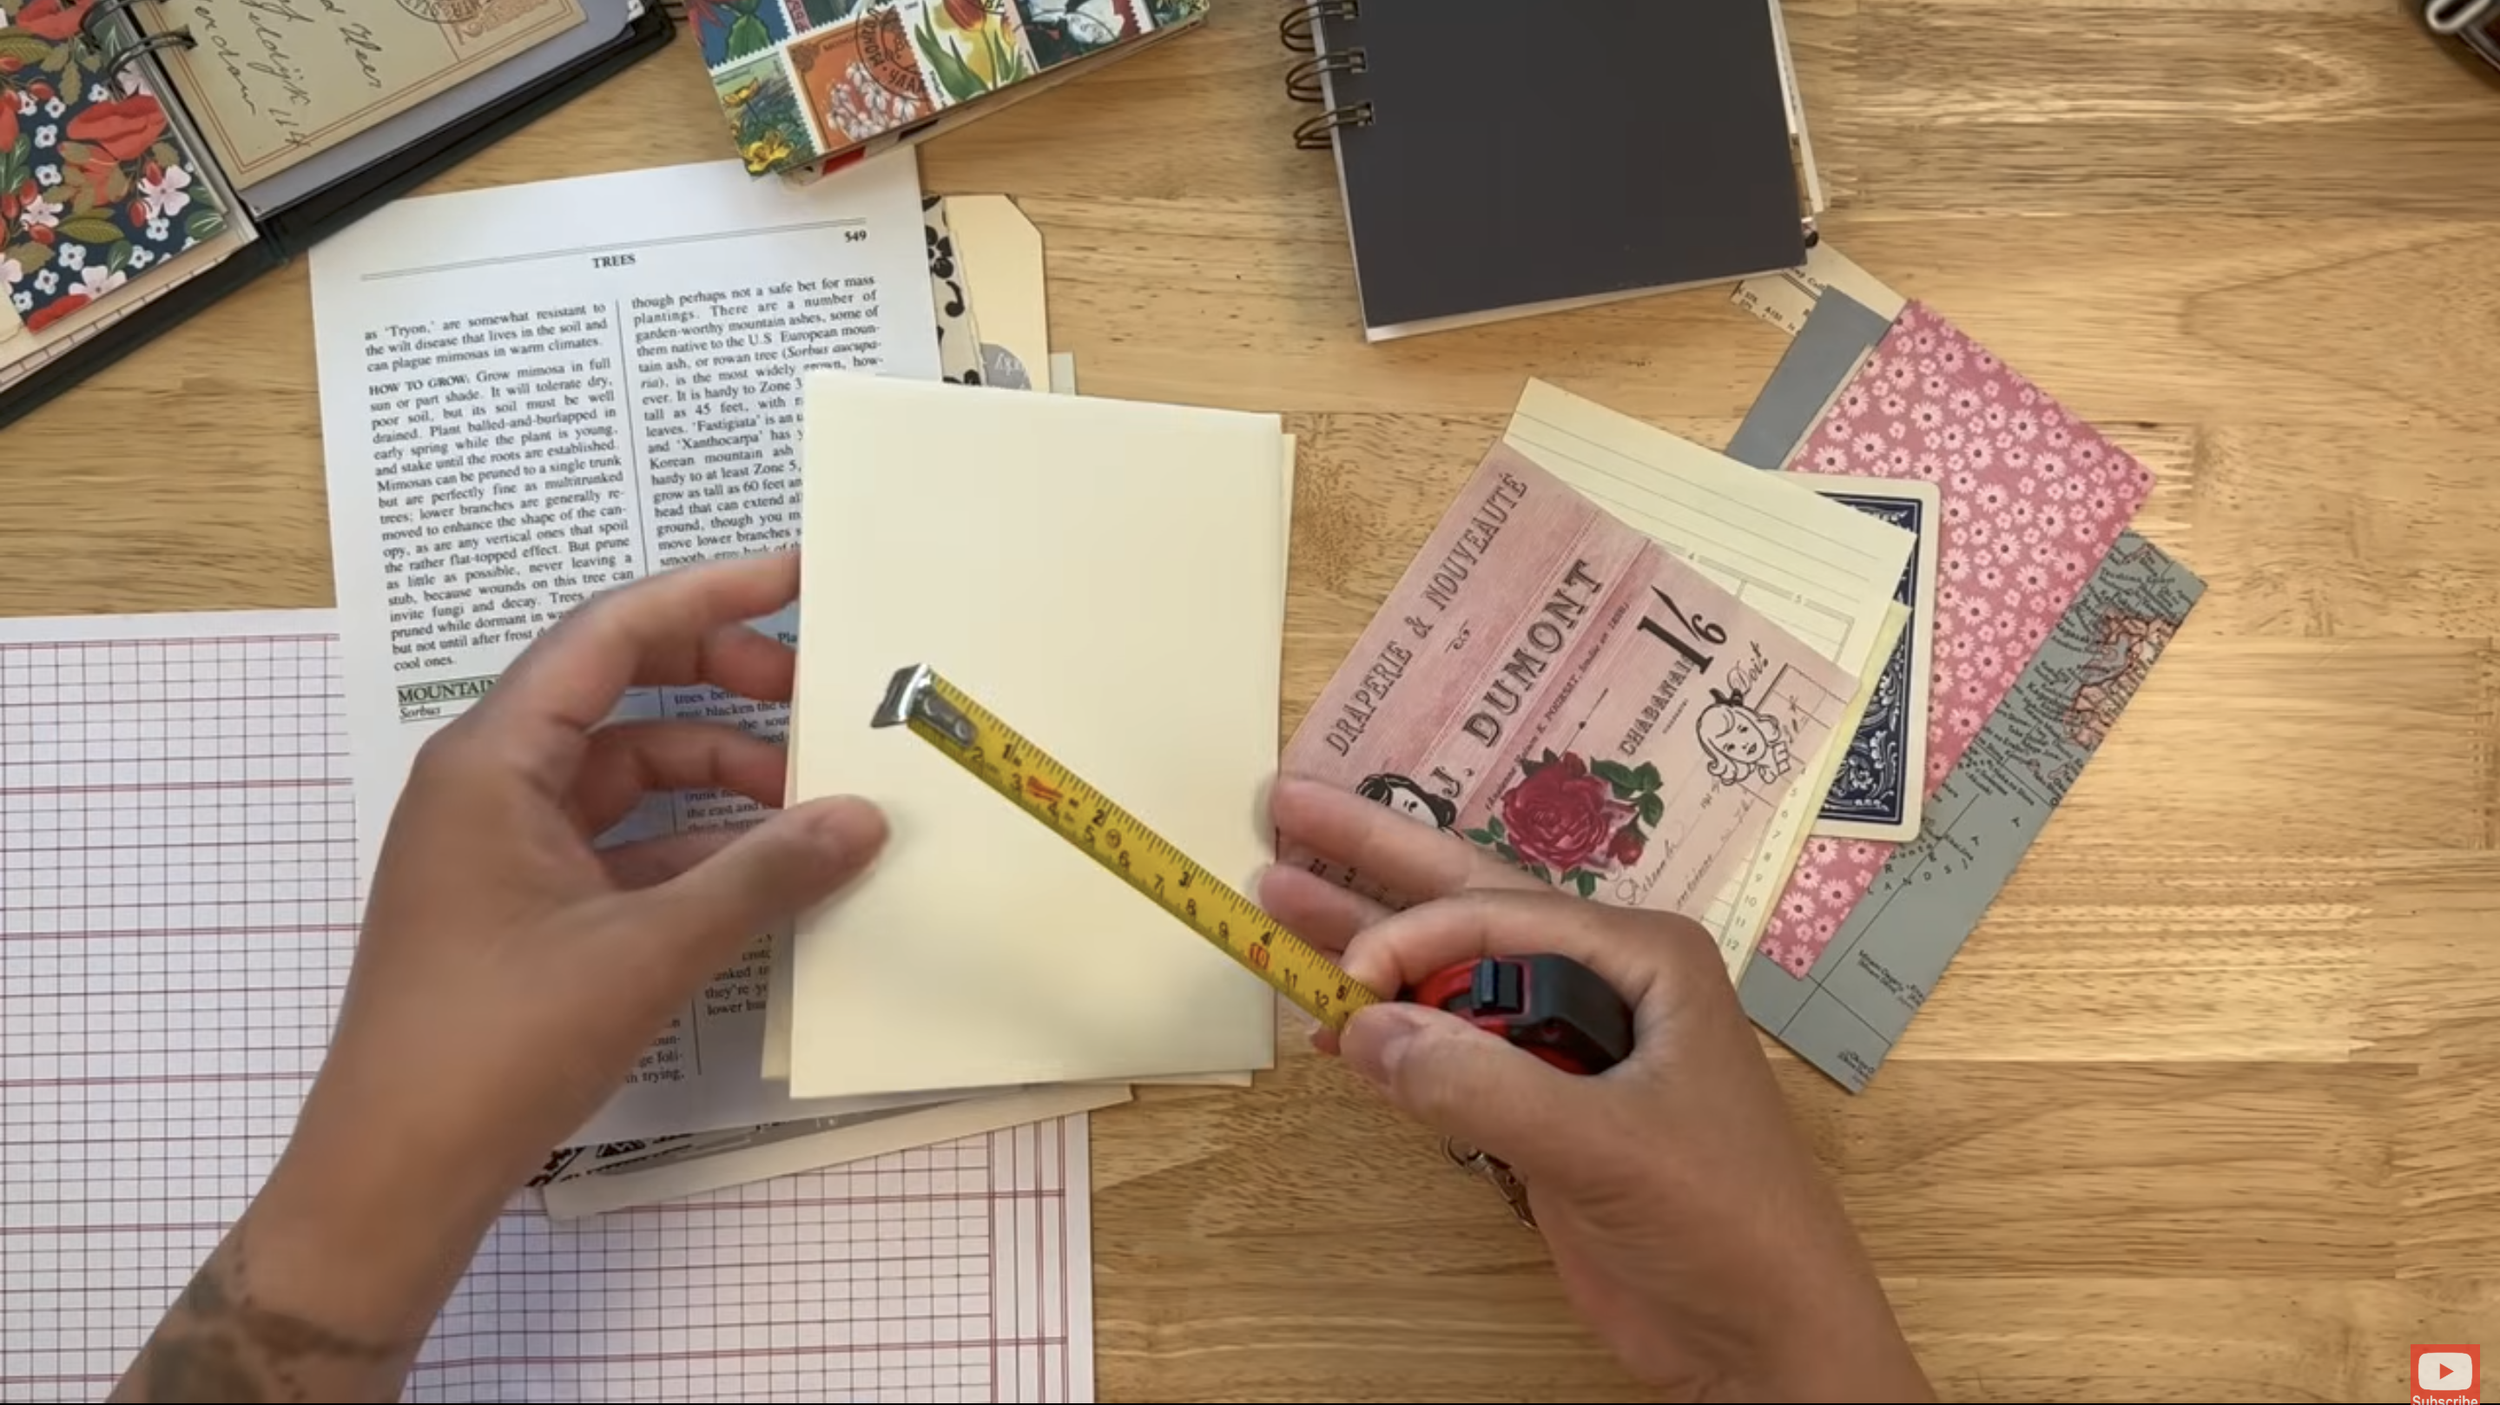
Shuffle the order. Lay the pages out and see what looks good together. Two colors that clash? Slide something between them. I like the small pieces closer to the front. Once I find a pair I love, I glue it in right away, before I lose track of it.
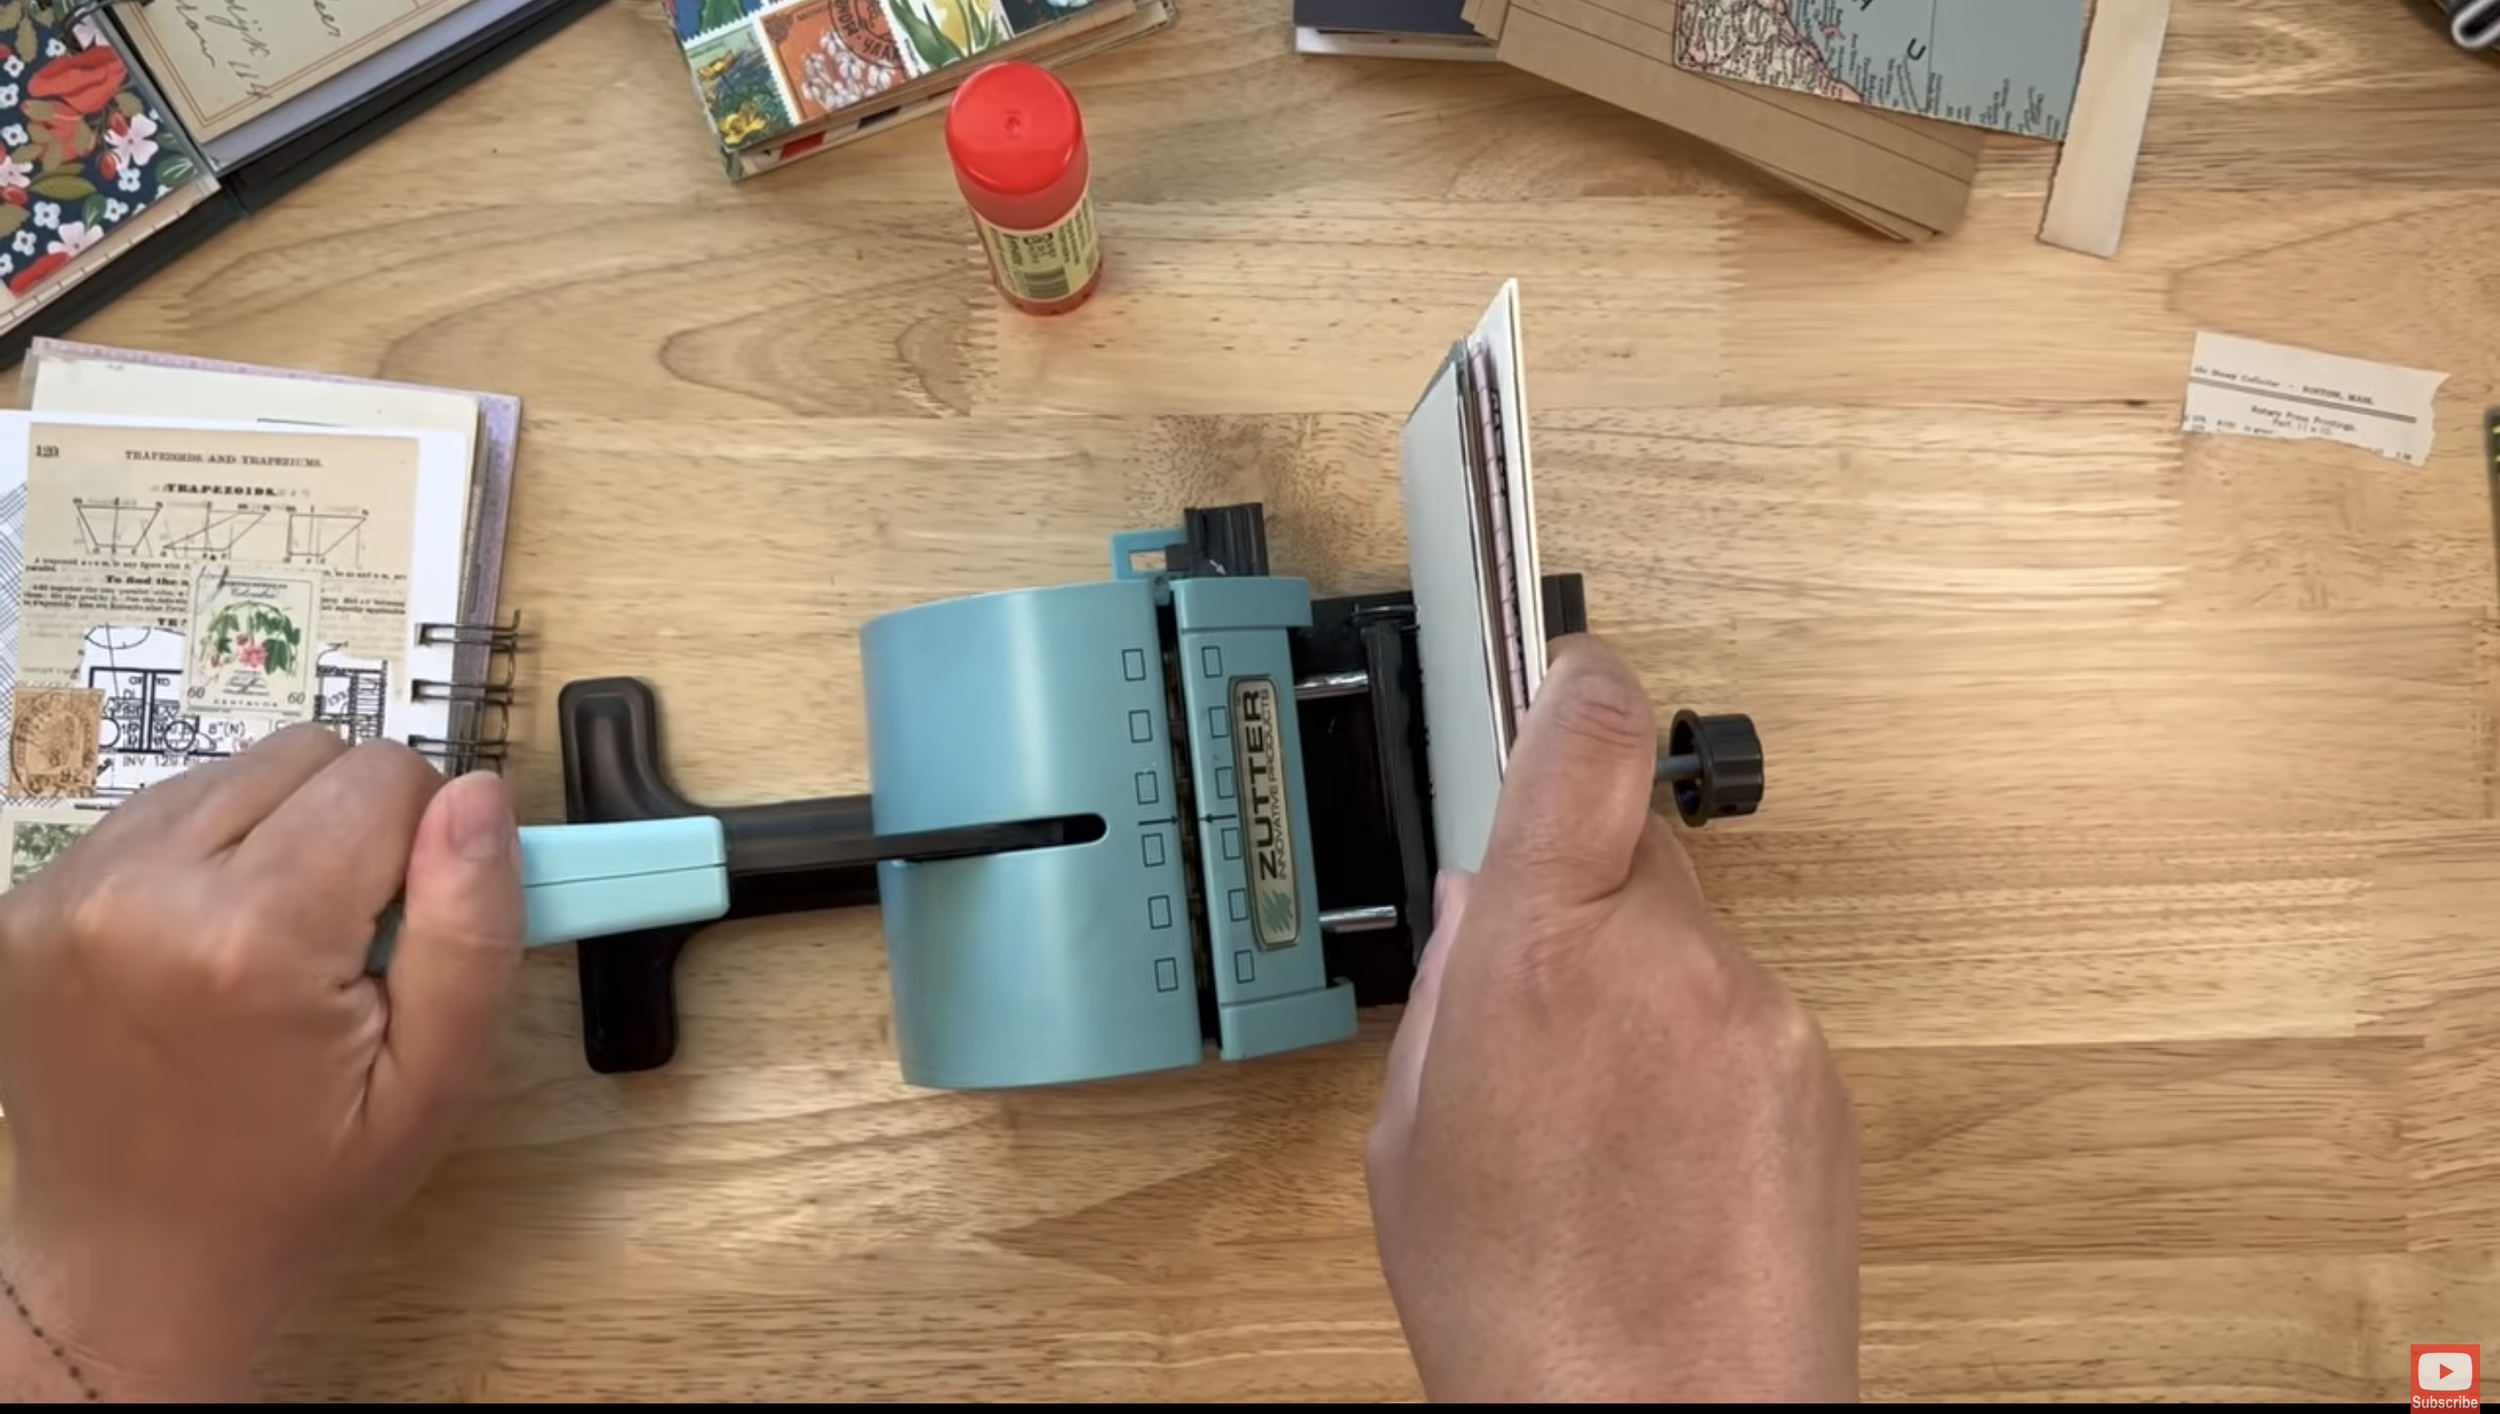
Bind it. I use a Zutter Bind-it-all that I found at a garage sale. You slide in a few sheets, press, and it punches the holes. Then it closes the coil. You don’t need one, though. A hole punch with rings works fine. So does yarn or embroidery thread. Something a little rough suits this kind of journal.
If you use a hole punch, punch one page first. Then use it as your template for the rest.
Start playing
Once it’s bound, pull out some old scraps and see what happens. For my cover, I wanted to keep the envelope flap showing. A big piece of paper hid it. A set of stamps let the outline show through, and that’s what I went with.
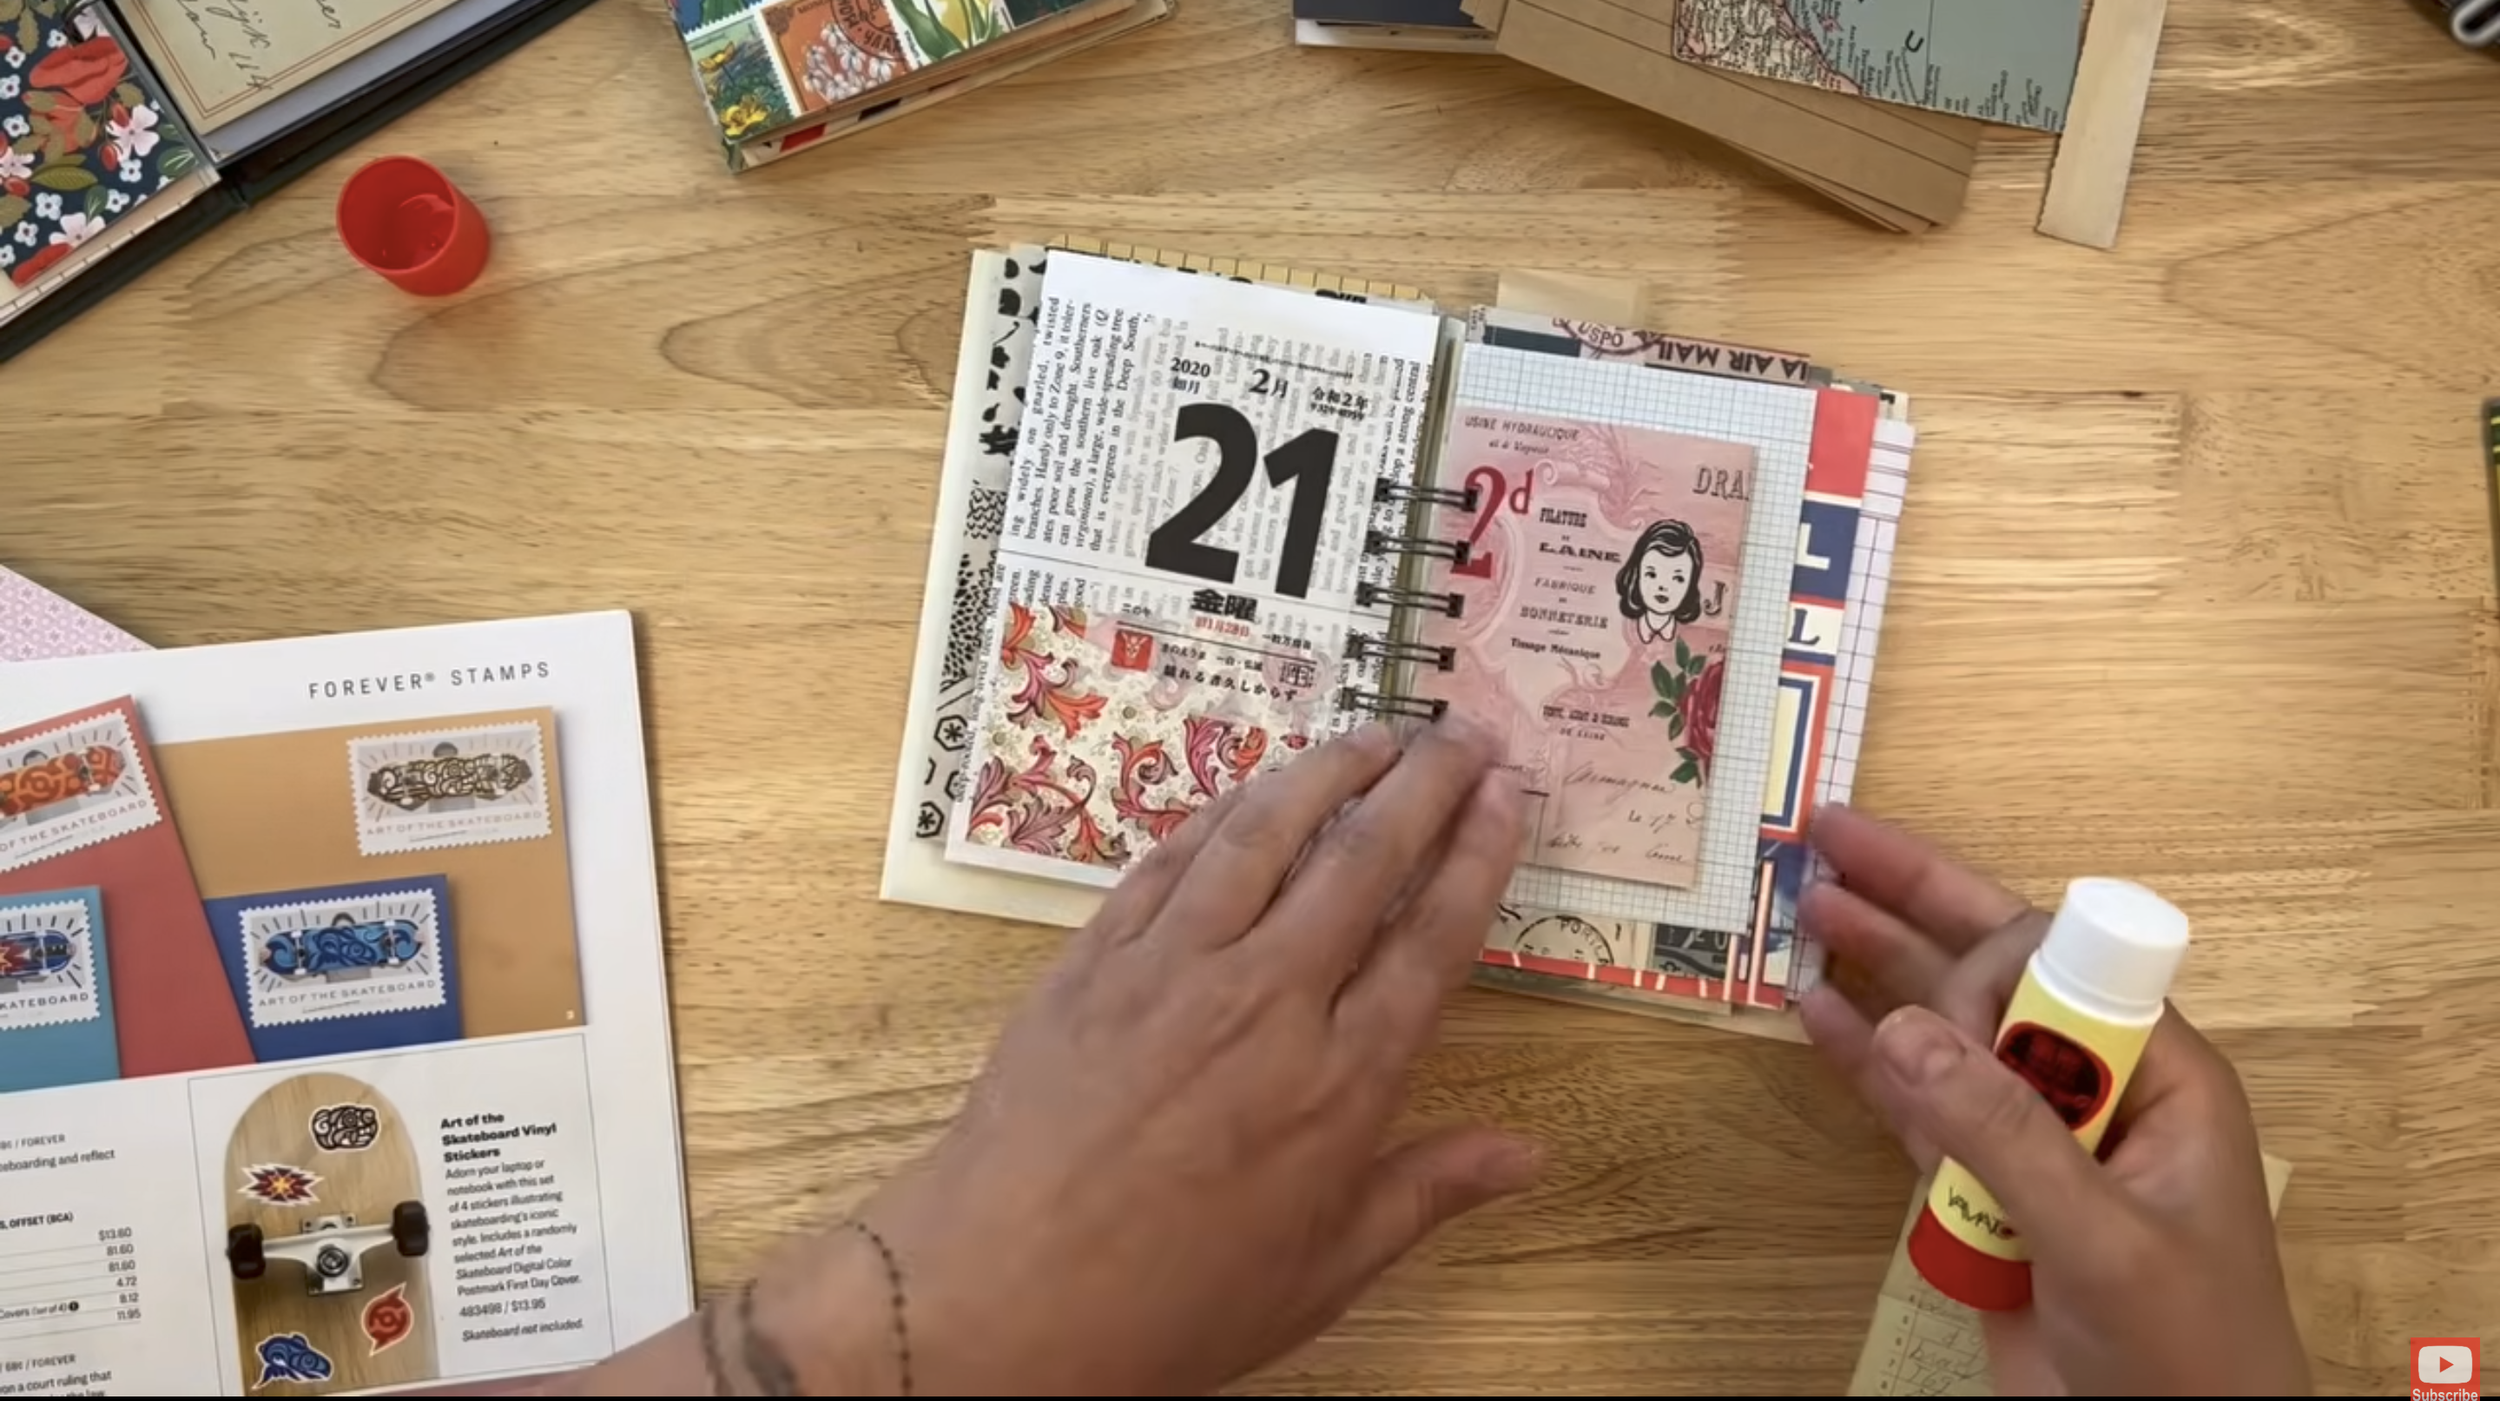
This little journal helped me stop overthinking and start making again. If you’re stuck, try it. Twenty random papers and whatever you feel like picking up today. It might be the reset you needed.
Want to see more of the creative process in action? Watch the full video here.
If you are interested in recieving more inspiration, sign up for my newsletter. Want to join a community of people wanting to explore their creativity? Join the vintage and collage club!