Do you have a pile of paper bits you can’t bring yourself to toss? Snippet rolls are one of my favorite ways to use them up. They’re relaxing to make and save you time on future projects, because you’ll have a stash of ready-made collage strips waiting for you.
Follow along with my tutorial on how to make one here.
What Is a Snippet Roll?
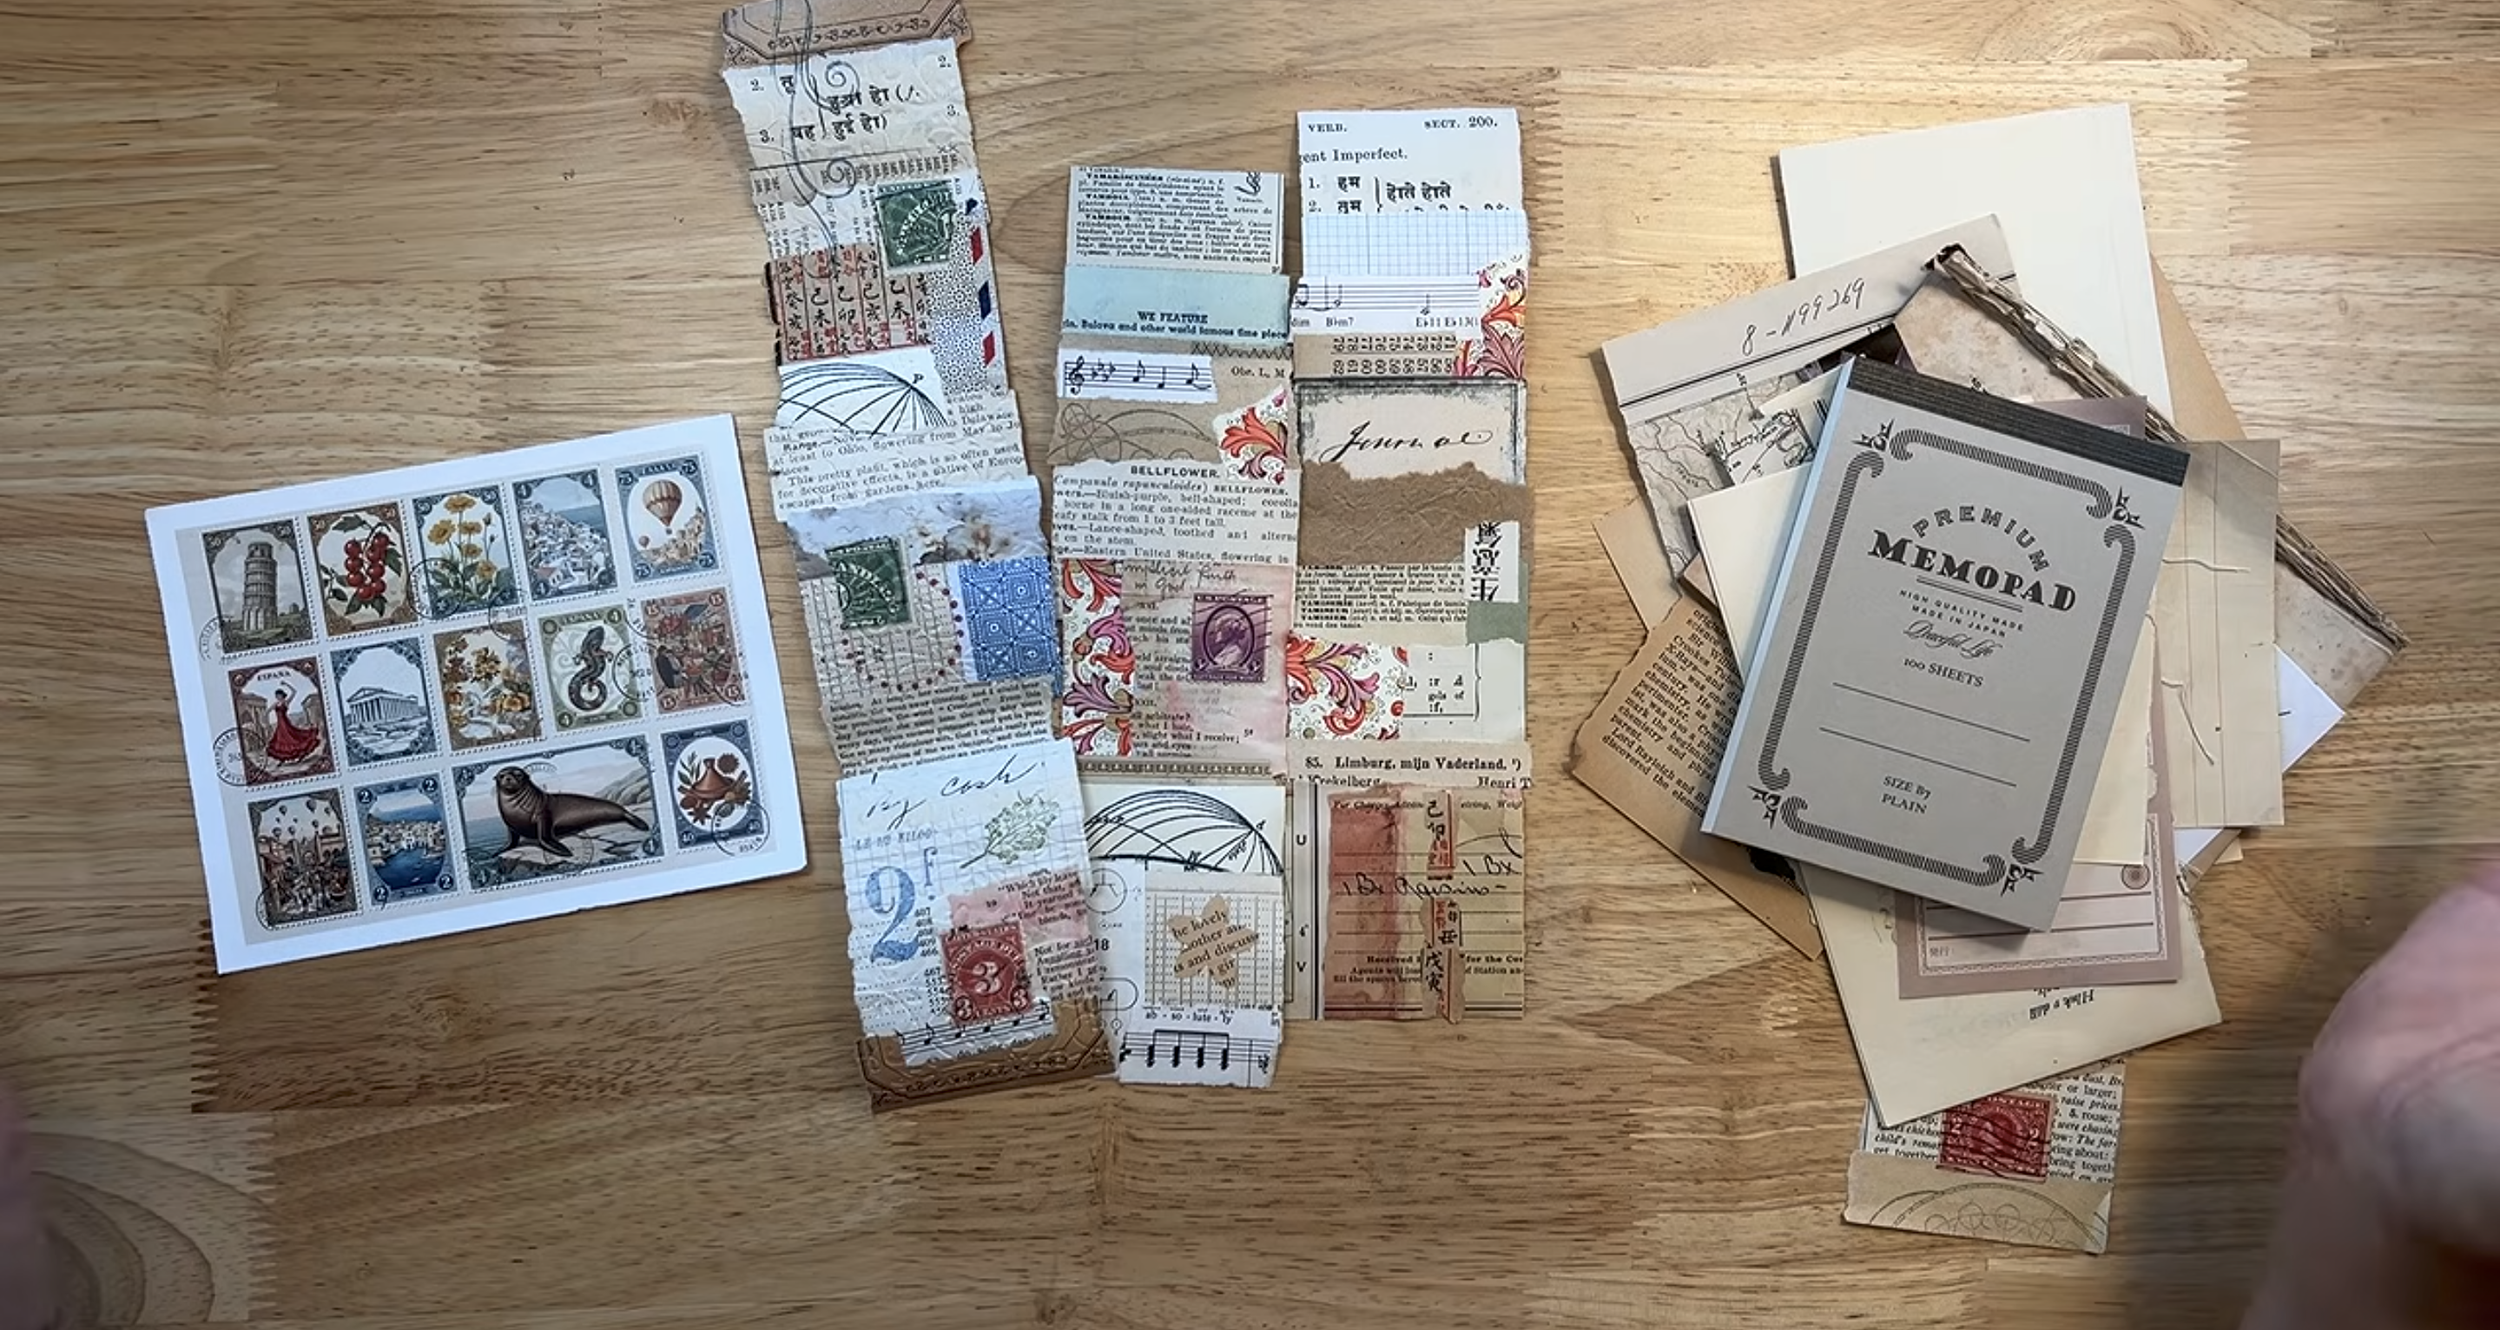
A snippet roll is a long strip of layered collage on a narrow base. You can keep it flat or roll it up and tie it with twine. Roll one up and it makes a pretty decoration for your creative space. You can also tear pieces off to use in your projects:
Tear off a section to make a tag
Tuck a strip into the side of a journal page as a pocket
Use a piece as the base for a collage
Add one to happy mail
Choosing Your Materials
Anything that lets you glue pieces onto a strip will work. For the base, I used tracing paper because I had plenty of it and wanted to use it up.I didn’t measure the width, but about two to two and a half inches is a good size.
Next, I picked my focal points: a set of faux postage stamps. They gave me a palette of blues, greens, reds, browns, and yellows. I laid down neutral papers first, then looked for scraps with some of those colors in them. My stash included: book pages, maps, magazine cutouts and different colored scraps of paper.
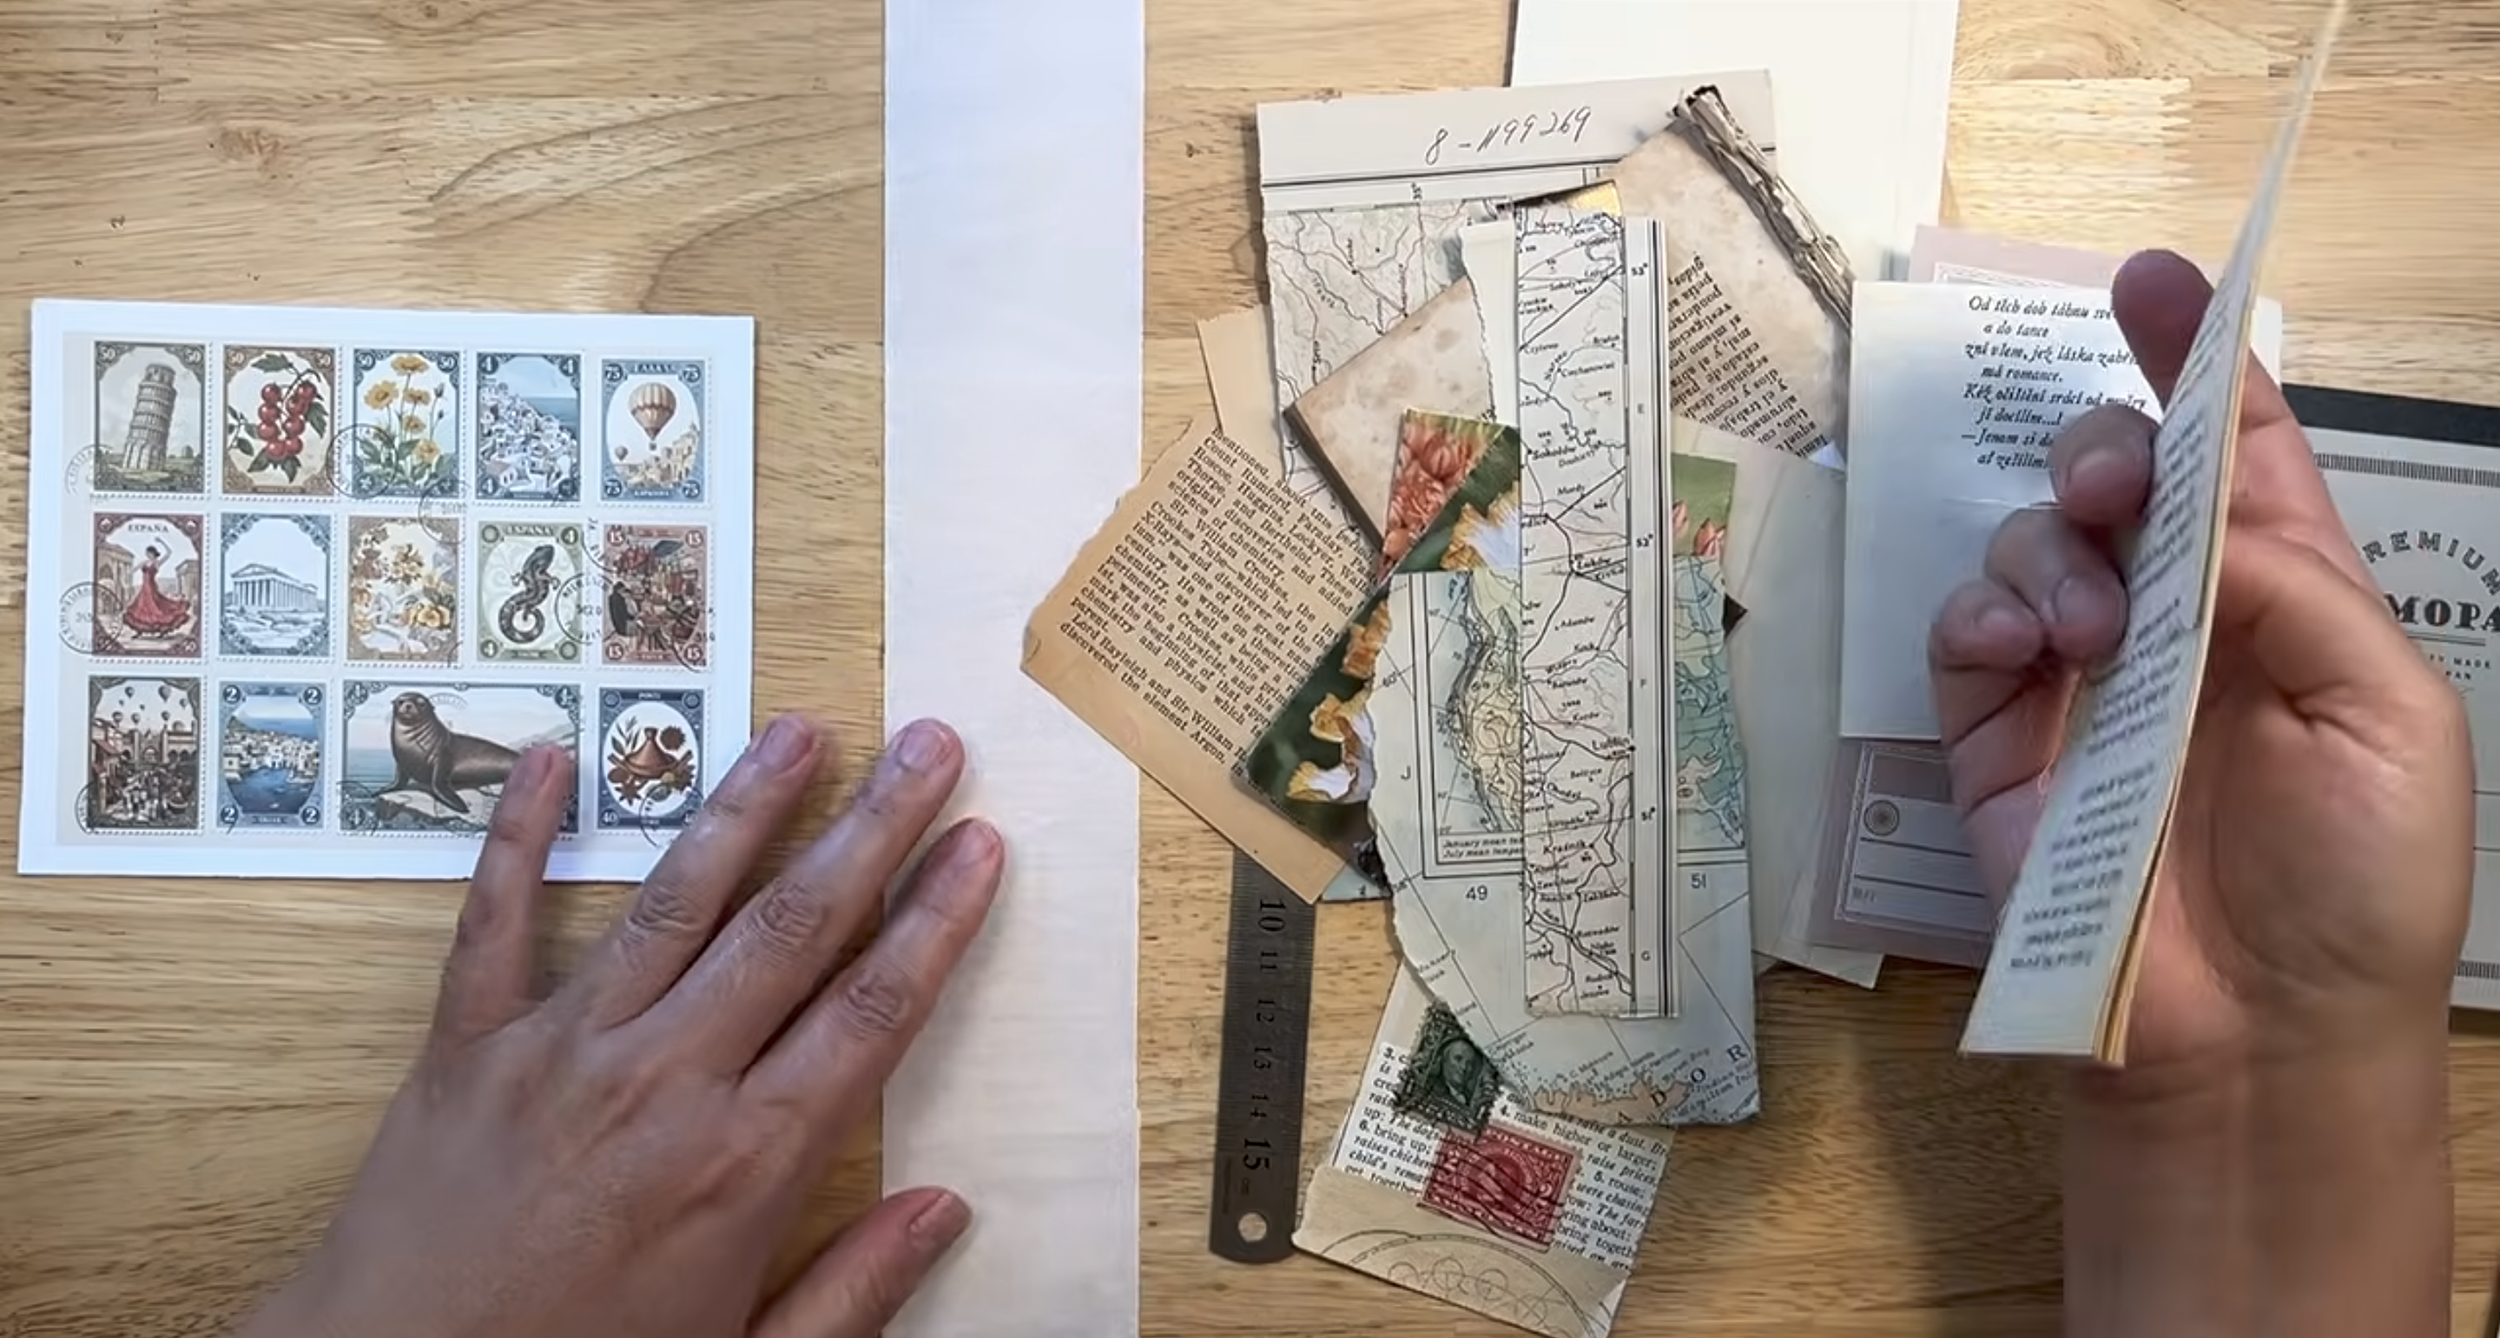
The colors don’t have to match perfectly. I tried pink and decided yellow worked better.I also like neutrals with a little contrast, such as two shades of cream, because it adds interest without competing with the focal points.
Assembling the Strip
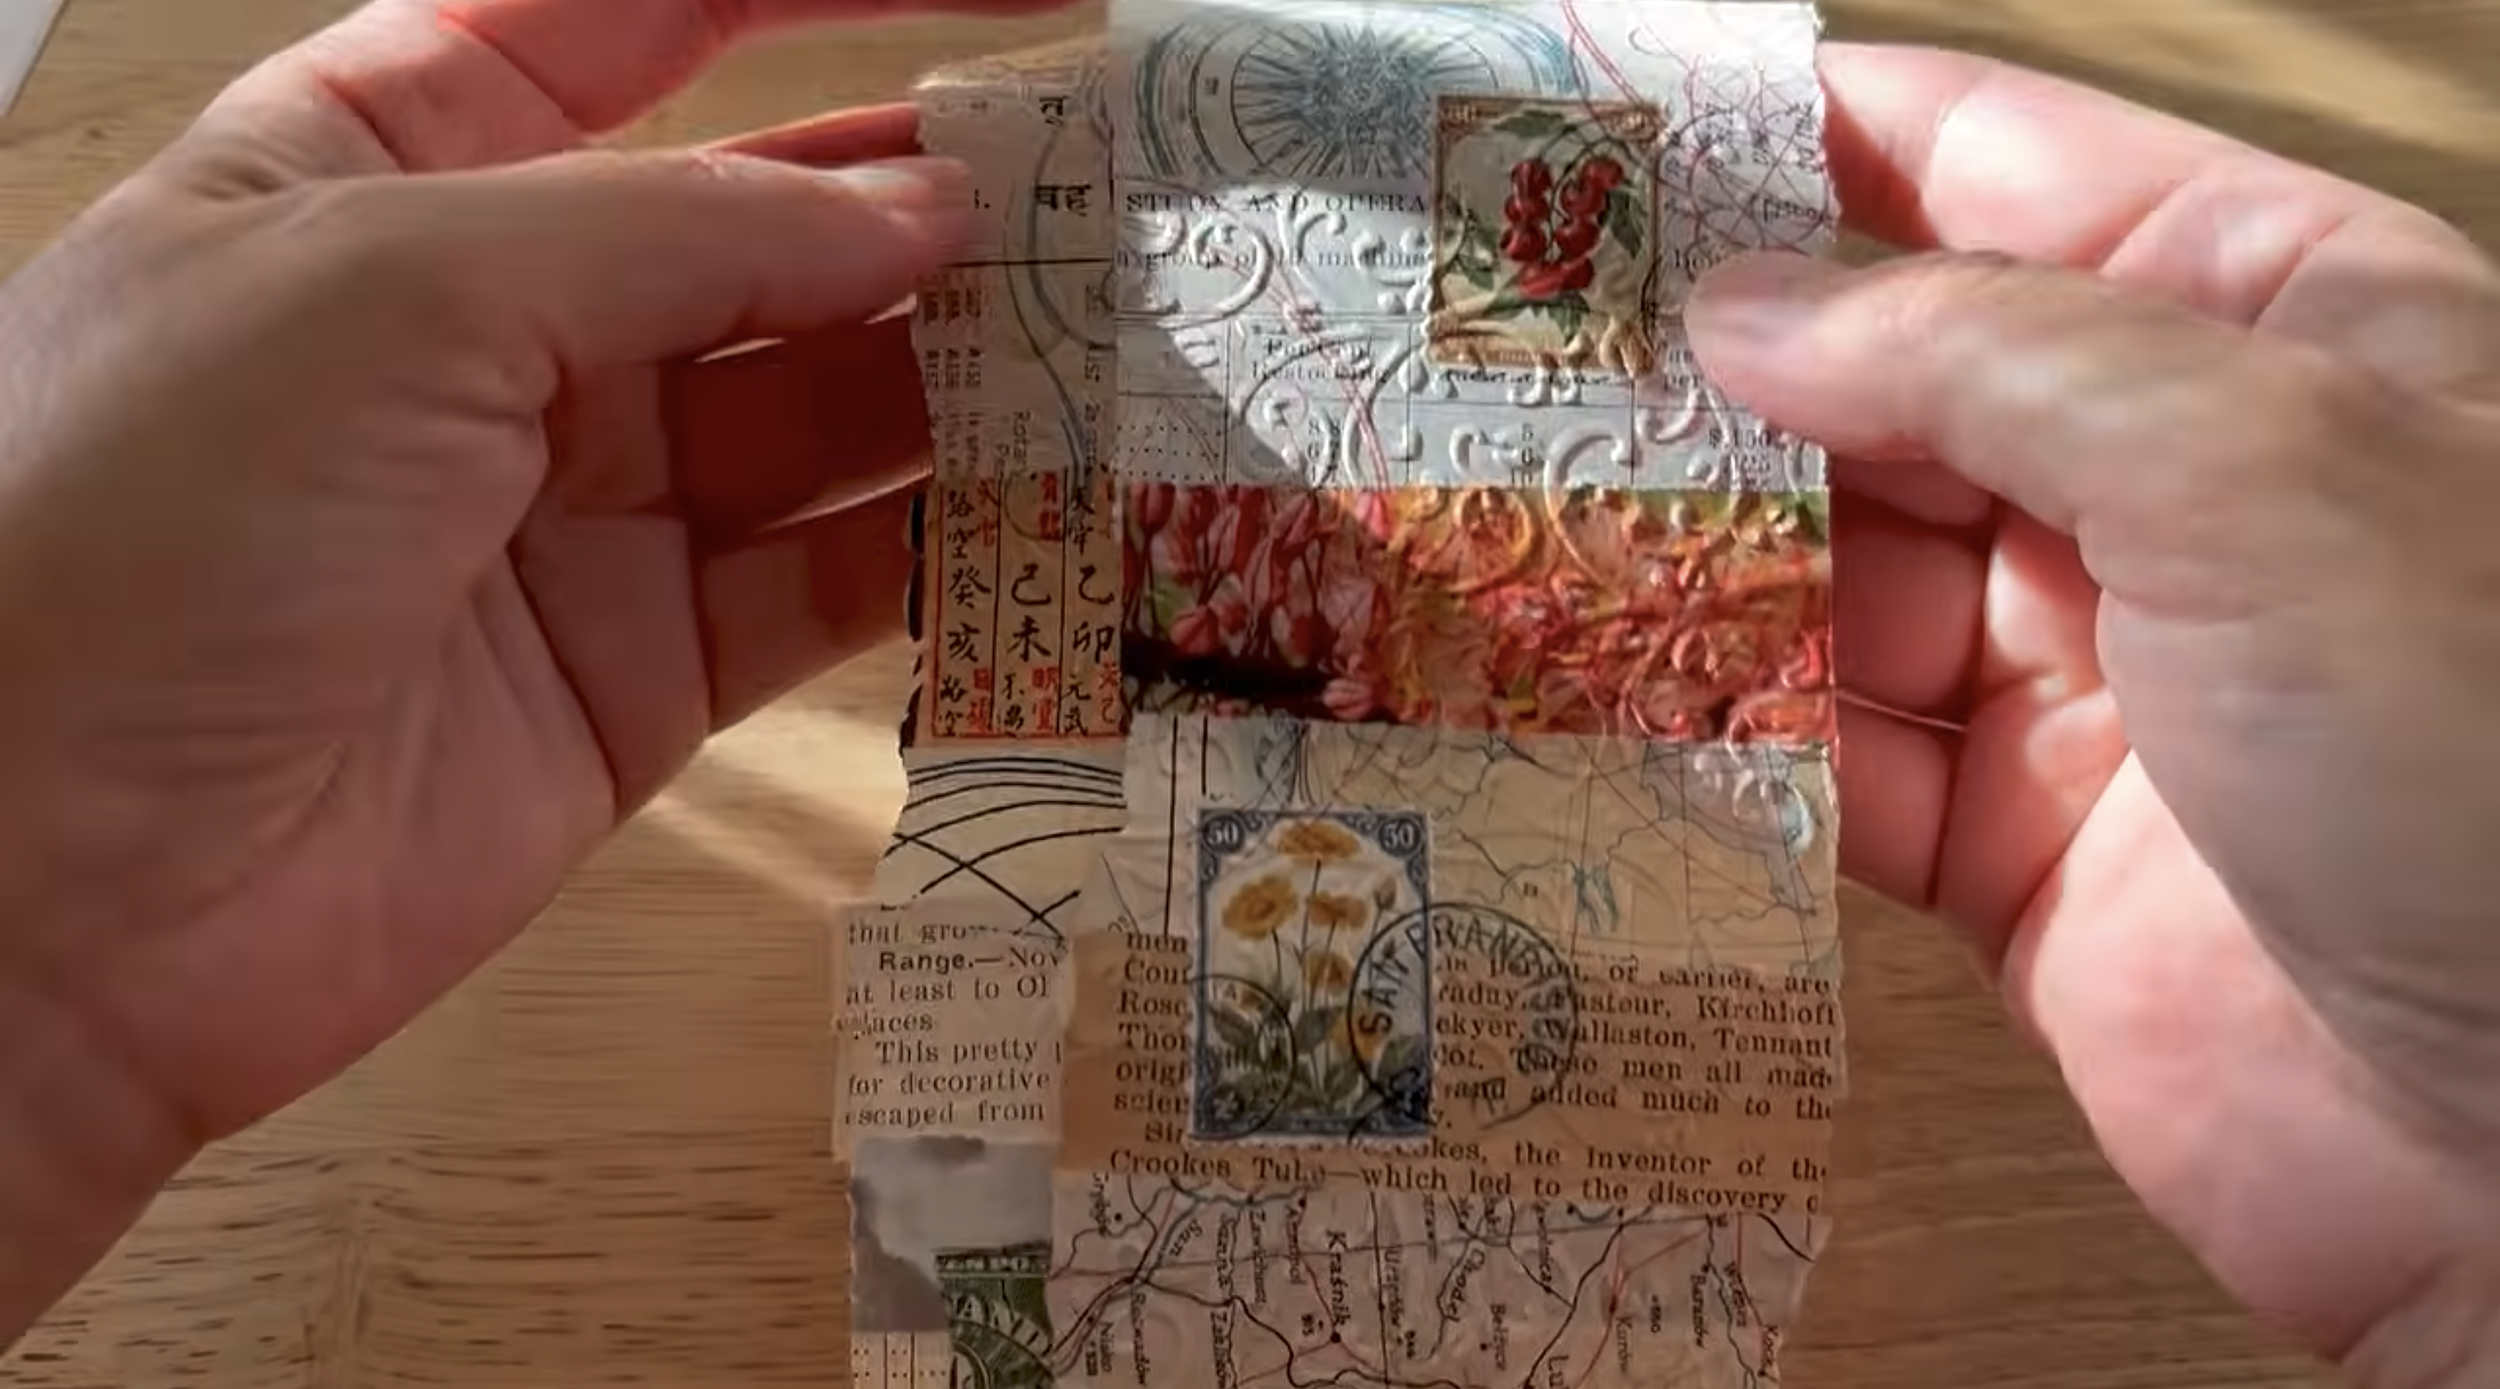
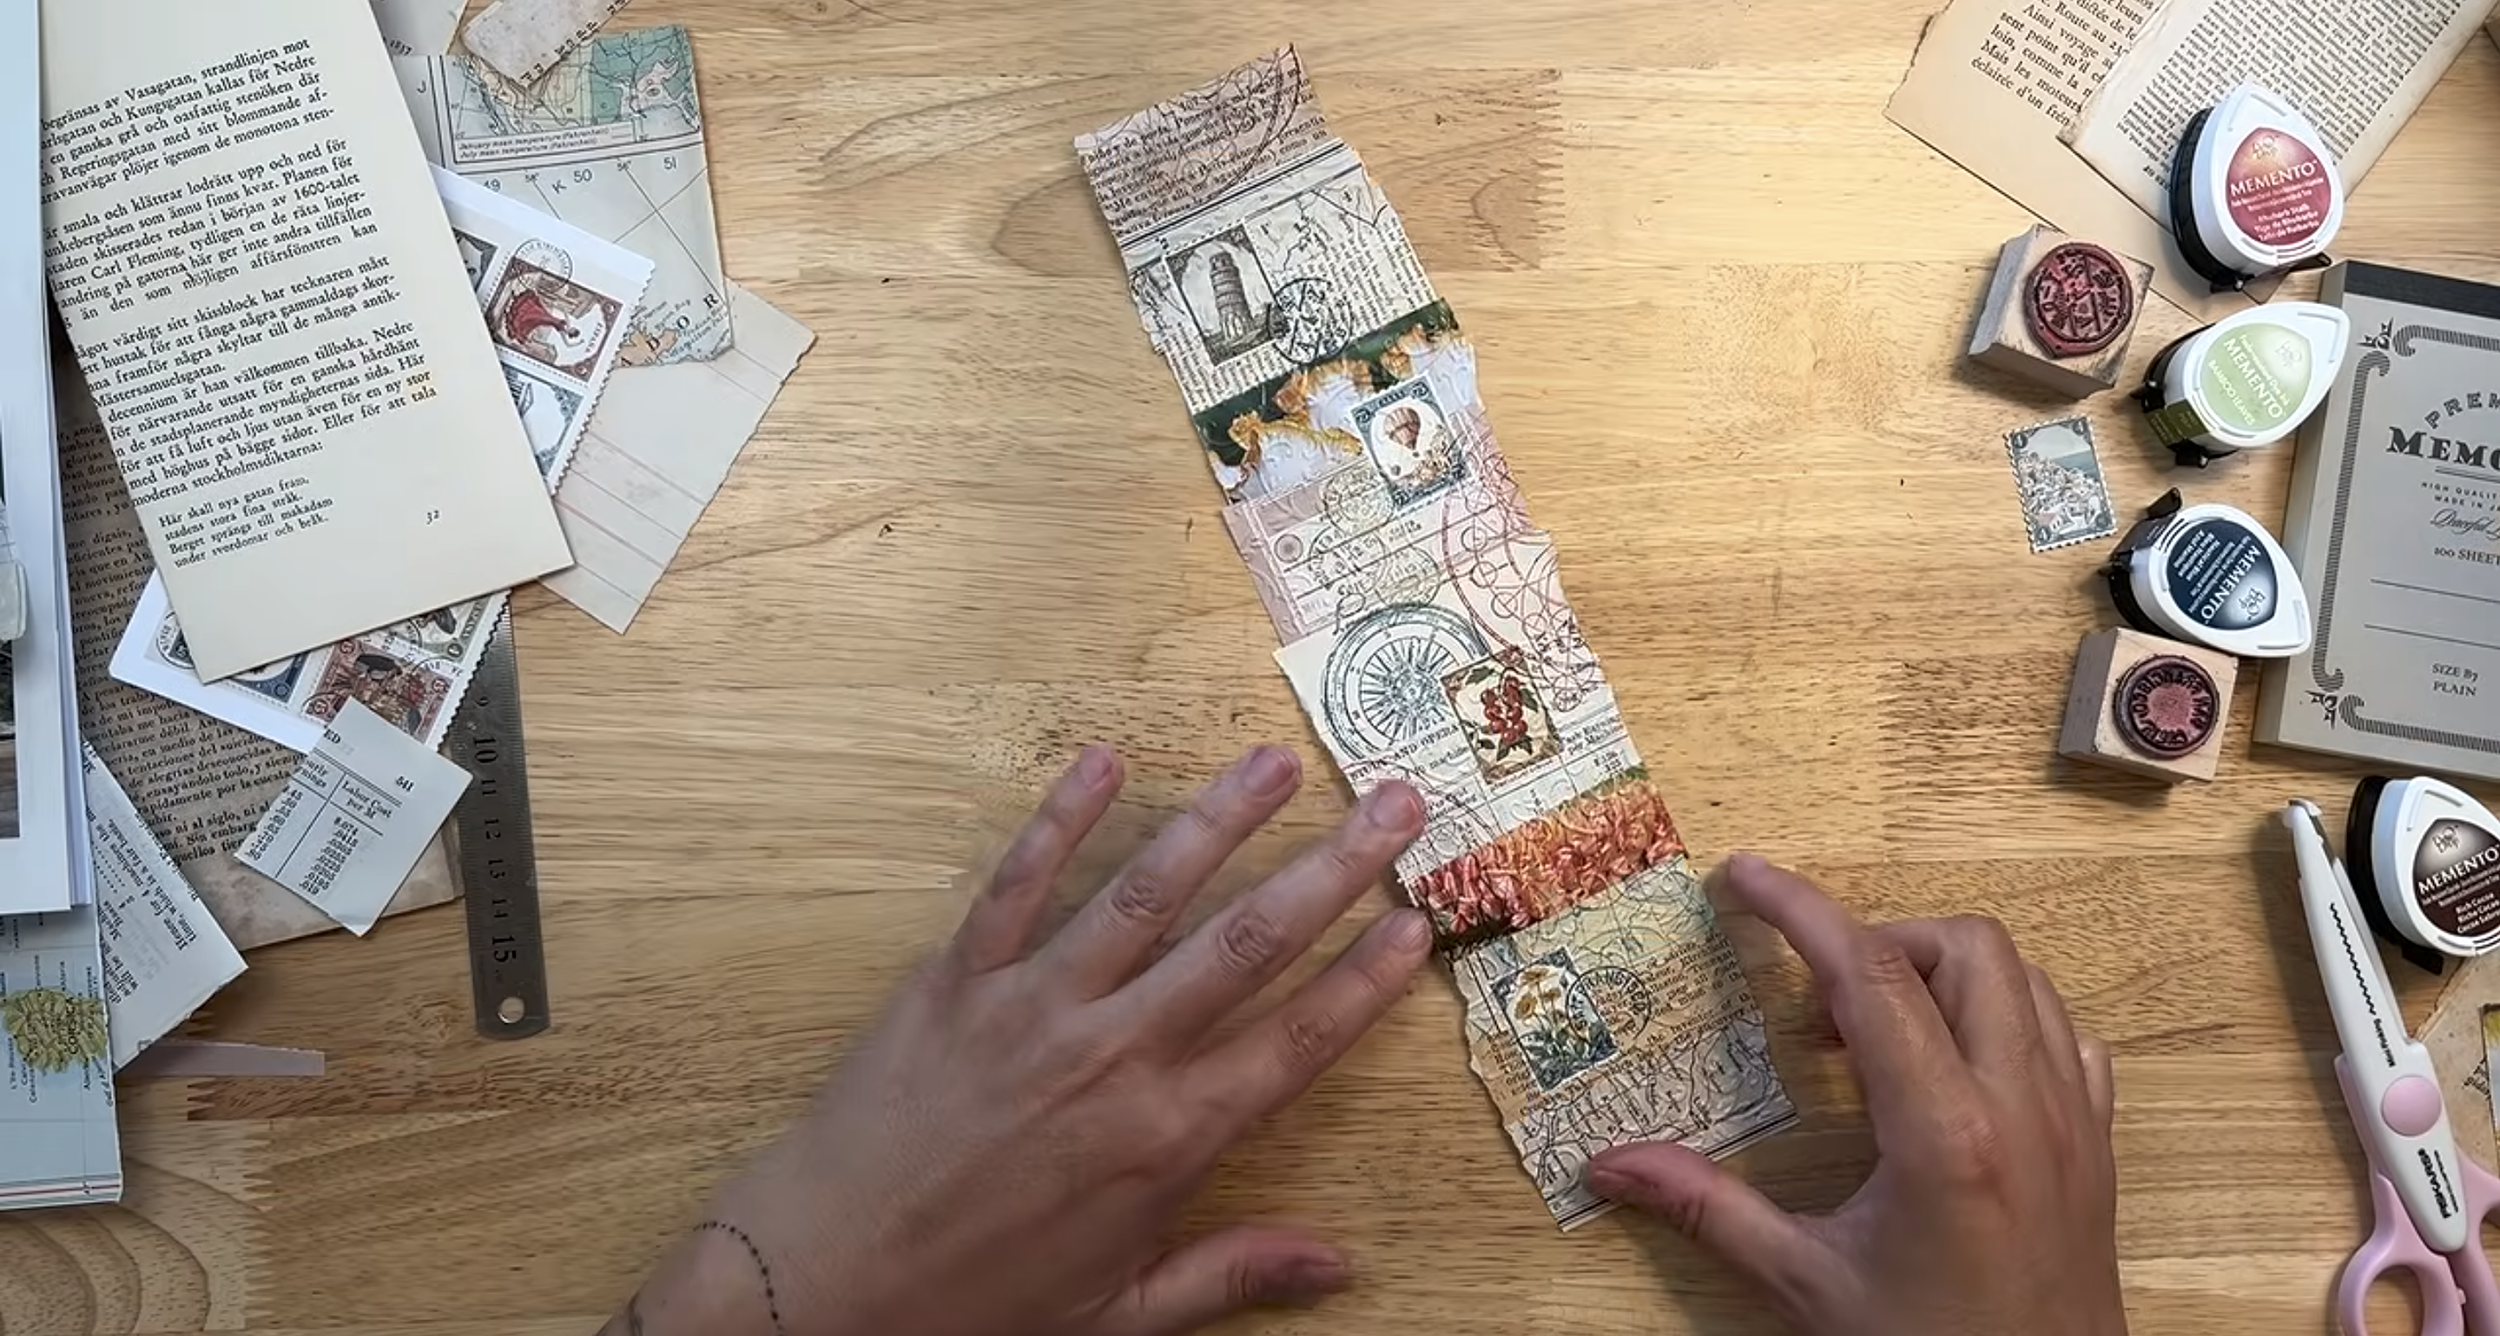
I let some pieces hang over the edge slightly because I like the uneven look. I tried out different arrangements, cut some pieces in half to use them twice, and left a few blank spaces for stamping later. Then, I glued everything down.
Once the first layer was done, I tore off any pieces that stuck out too far. You can always tear off more later, so don’t worry about getting it perfect on the first pass.
Adding Embellishments
This is where the strip comes together. I cut out my faux postage stamps with scissors that leave a jagged edge. A ruler works too if you don’t have decorative scissors. I placed the stamps without matching them too closely and decided four was enough.
Then I added color with rubber stamps, including a rose compass in blue, plus a little red along an edge. As a last step, I ran the strip through my die-cutting press with an embossing folder for extra texture.
Turning It into a Roll
To make the roll, fold the strip over and wrap it with ribbon or string. A little charm adds a cute detail. You can also build a spool. An old glue stick works, and you can wrap it in decorative paper. I wrapped mine in a scrap from a little paper pad, rolled the strip around it, and tied it with twine.
Putting Your Snippet Roll to Work
Here’s how I like to use them in a travel journal or pretend passport:
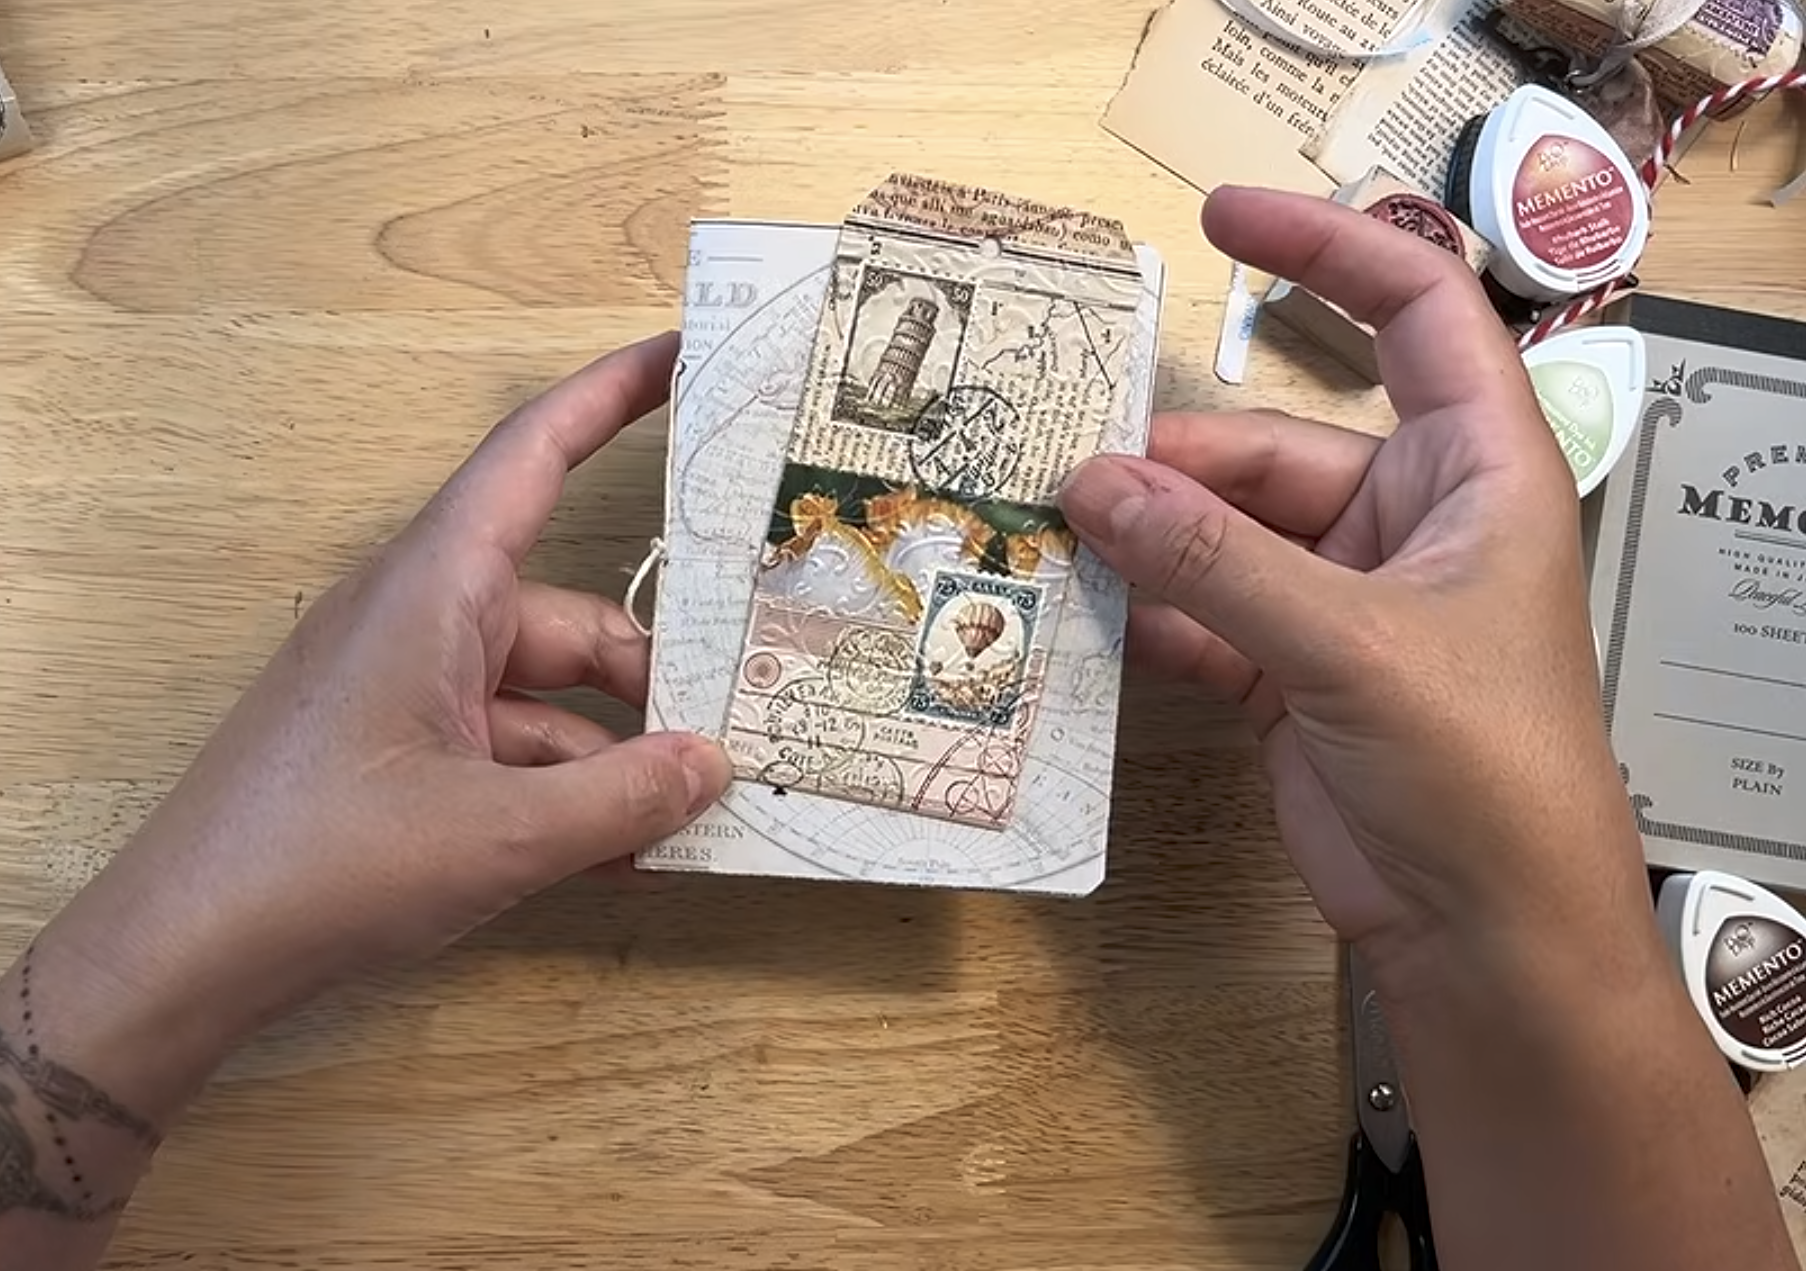
Make a pocket. Cut a piece, add double-sided tape along the top, bottom, and one side, and stick it to a page. It holds tags and small keepsakes.
Create a collage base. Tear off a section and layer photos or images on top.
Mount a tag. Attach a tag over a strip so it sits nicely on the page.
Decorate the outside. Use a strip on the cover of your journal or passport.
Make It Your Own
You don’t need special supplies for this. Start with the scraps you already have, choose a theme and a color palette, and layer your papers until you like how it looks. Make a few at once, and you’ll have a collection of strips for your next collage project
Interested in more advice or prompts? Visit my youtube channel! And if you want to create with other artists who like collage join the Vintage and Collage Club! There, we work through a new project together every month.